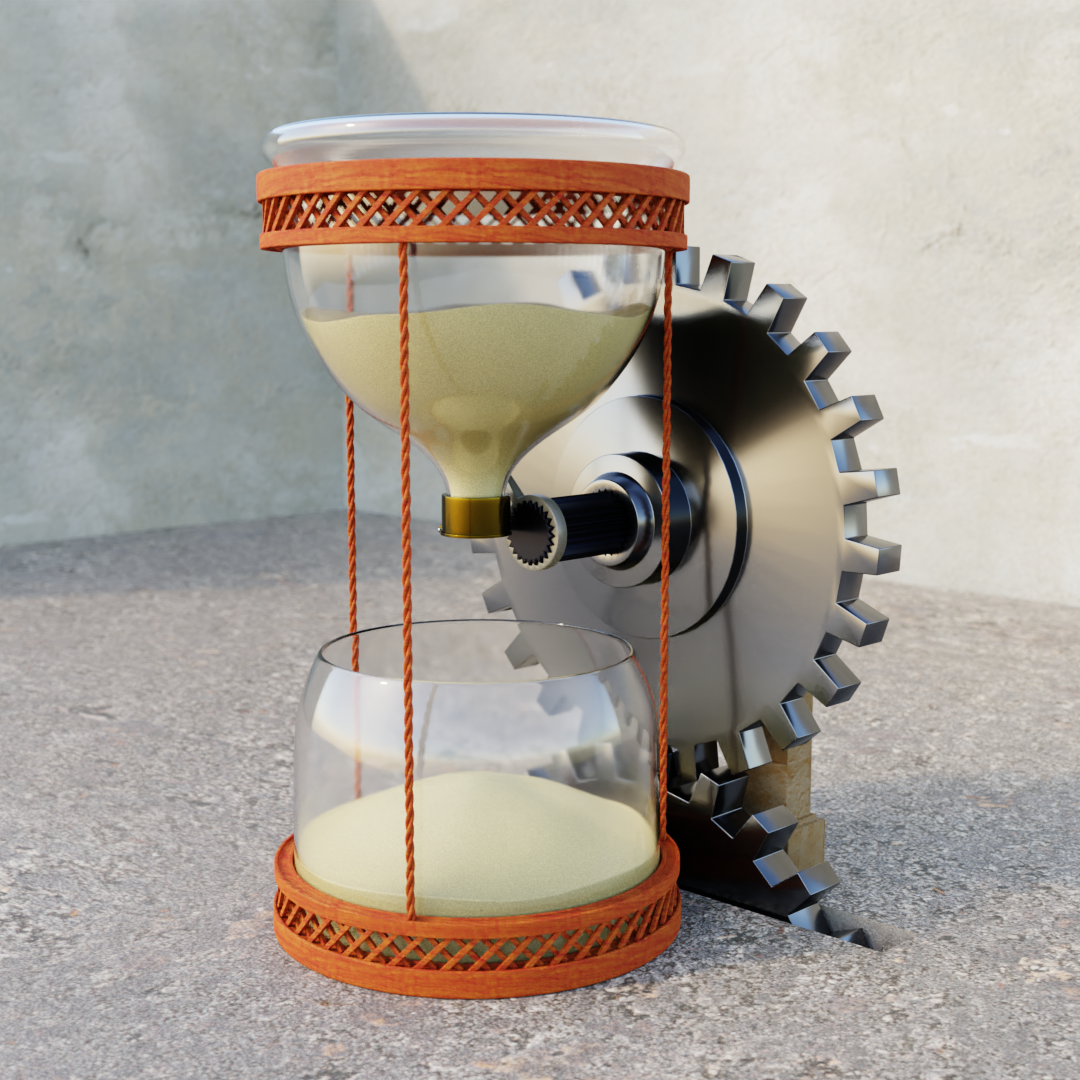
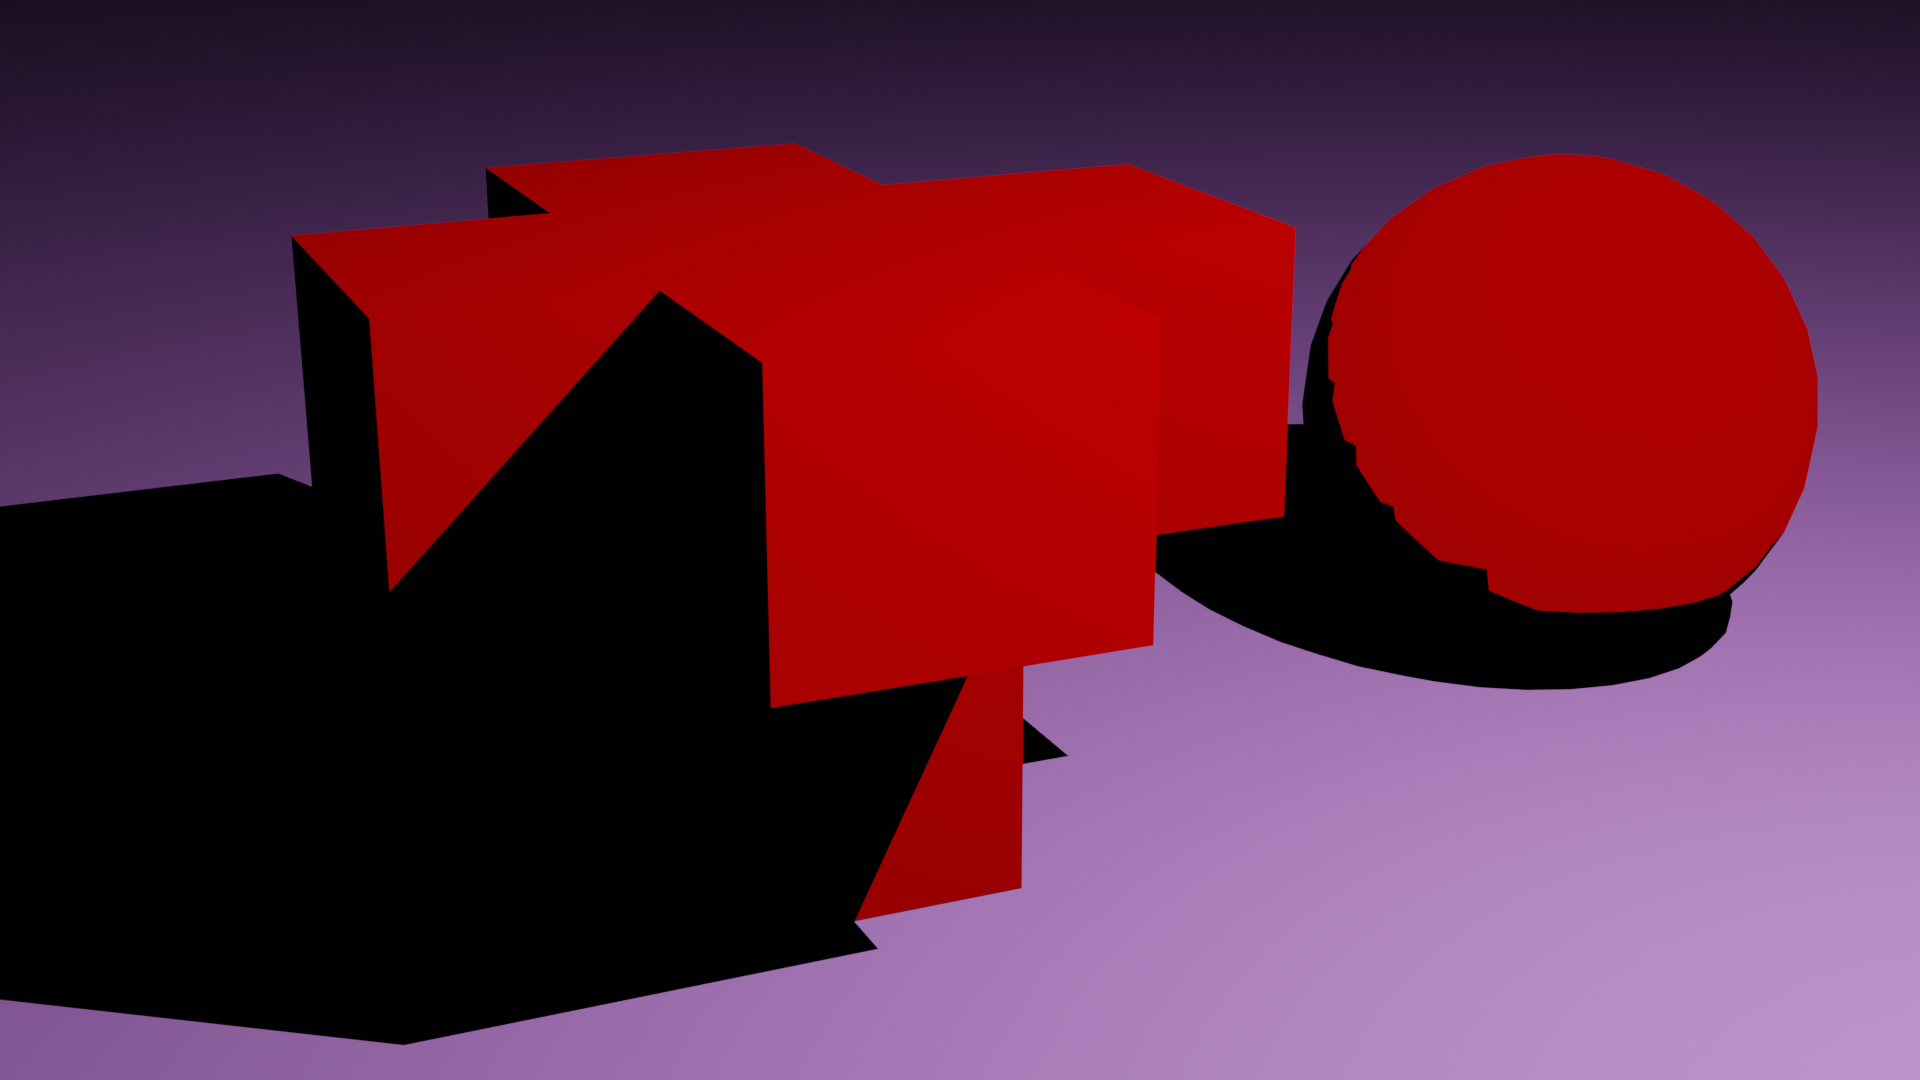
I put together another Blender image, this time just to practice modeling and surfacing. The end result is a little more abstract than usual for me, but I like how it turned out.
Click to view full-size image.
I used some textures from Texture Haven (floor, walls, wood, and stone pillar). The metal pieces are simple Principled BSDF with the Metallic setting set to 1. The hourglass is just a Glass shader. Honestly, the sand is probably the most complex shader network, because I used procedural noise nodes to give it a fine-grained look.
I am still slowly learning Blender and trying out different features in the software. I put some of the tools I recently learned together into a rendered image below.
Click to view full image.
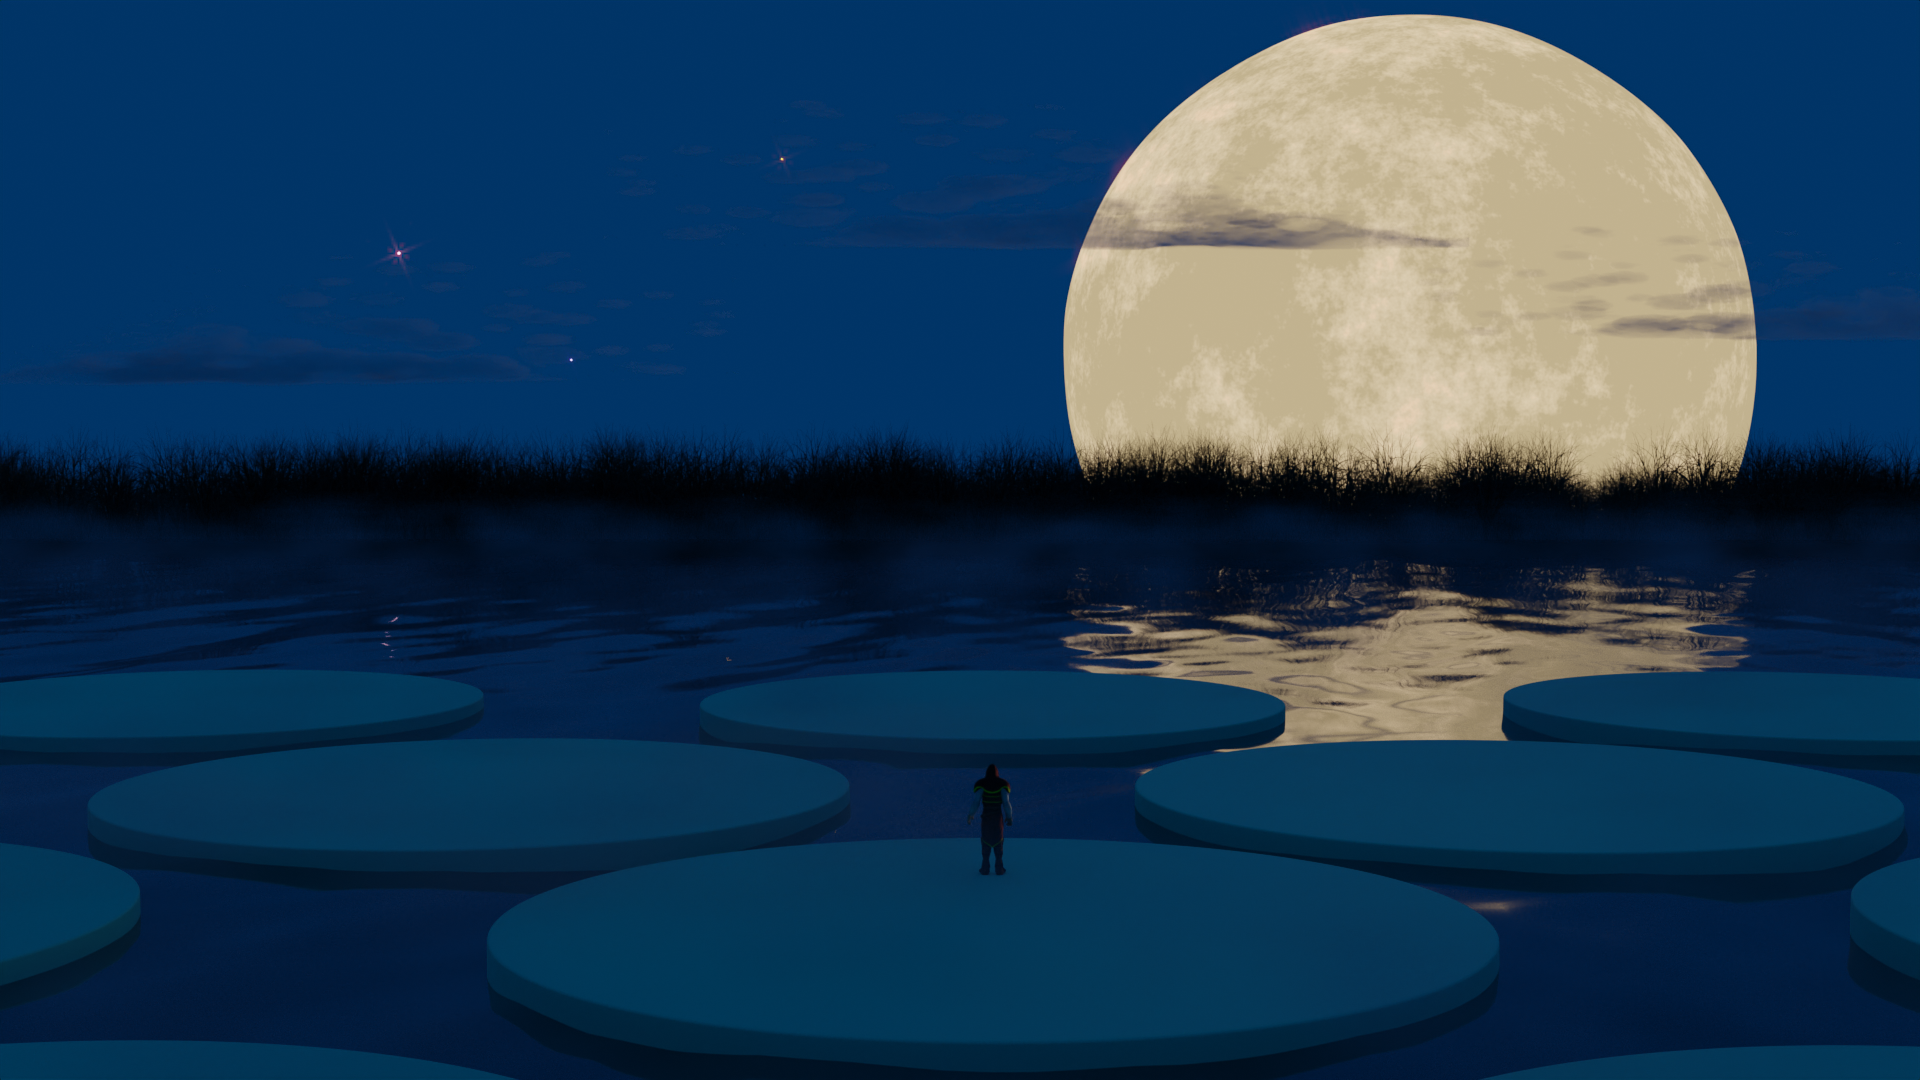
The moon is a sphere with an emission shader, casting light on the scene. The texture on the moon is a simple procedural noise node.
I generated the background trees using the “Sapling Tree Gen” add-on that comes bundled with Blender. After creating one tree, I used the particle system on a subdivided plane to create a forest.
The water is just an Ocean modifier on a single plane, with a simple-yet-convincing shader node network. The fog and clouds are different volumetric shaders. Each cloud (there are three of them) is a different cube, although they use the same shader network.
Finally, I downloaded the character standing on one of the platforms from Mixamo, a service from Adobe that offers free rigged characters and a large library of animations for those characters.
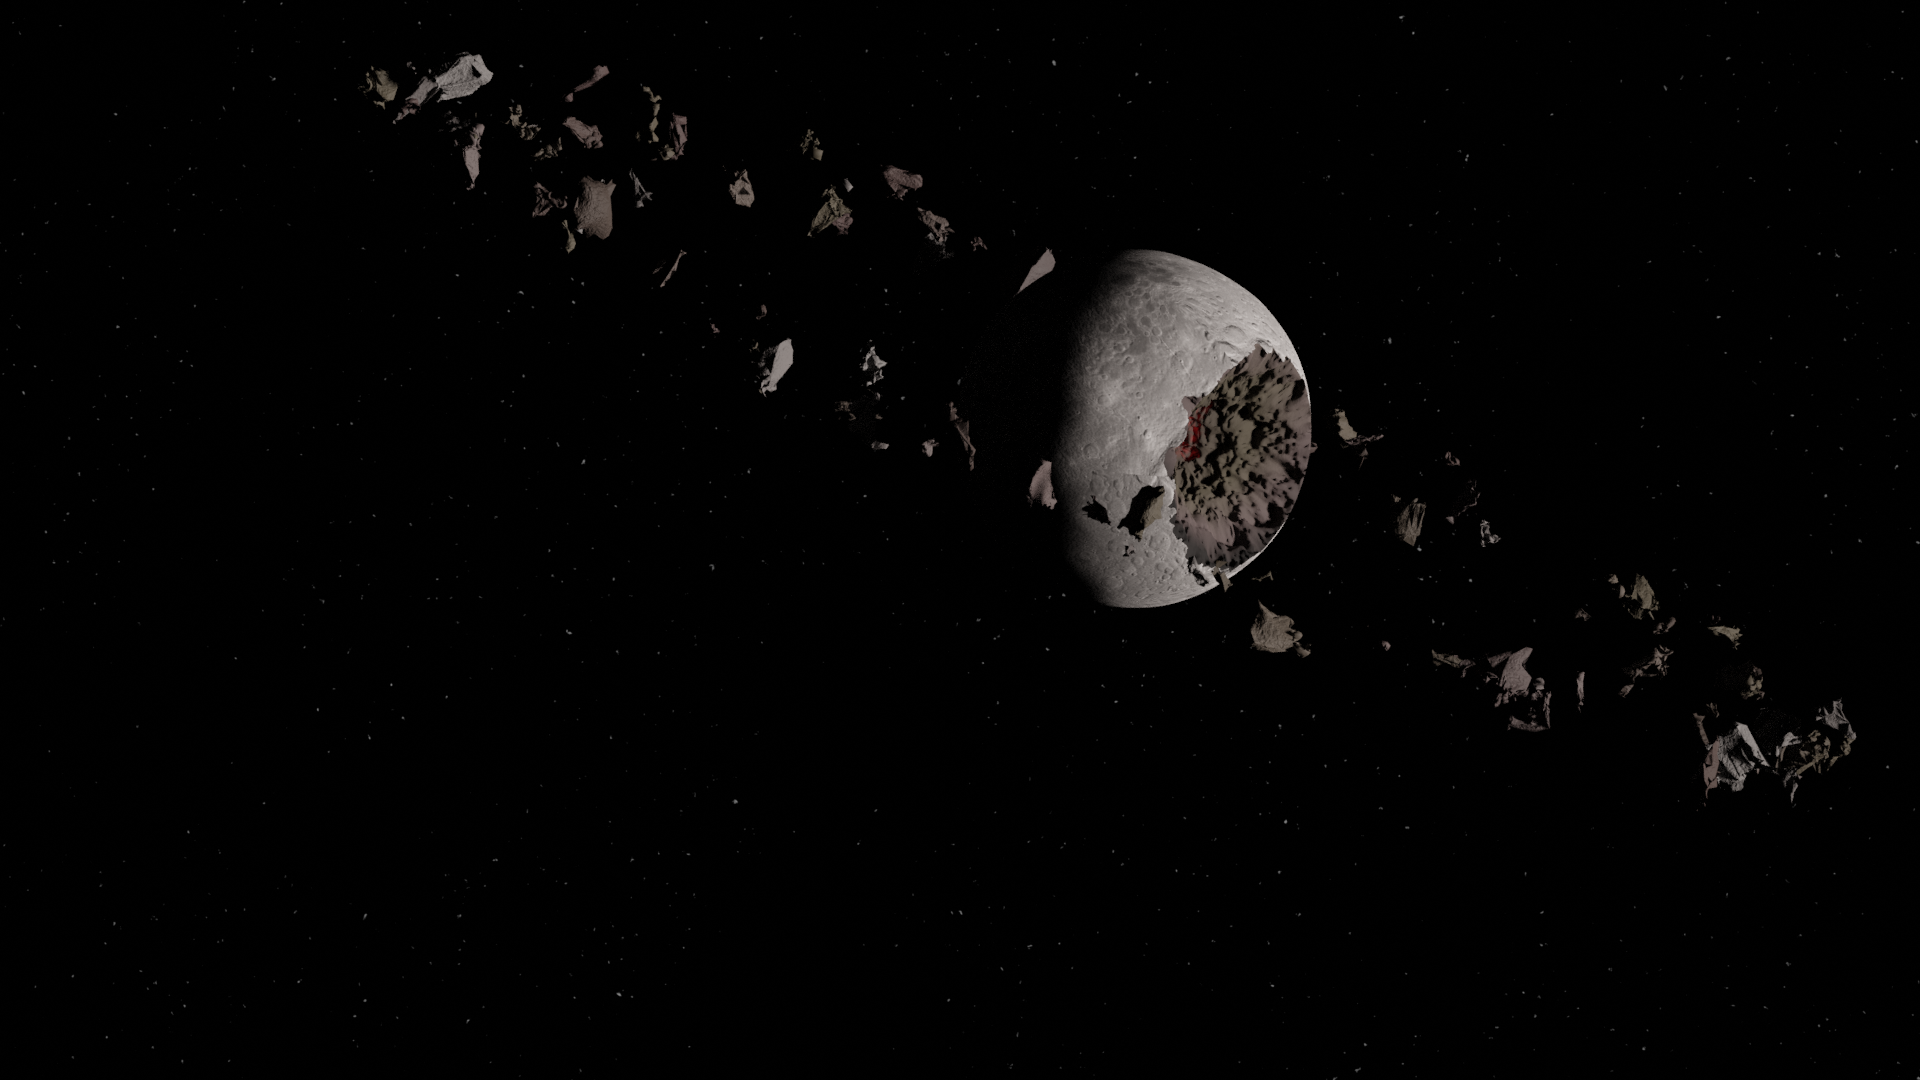
I started rewatching Cowboy Bebop, and that inspired me to make this image. In the universe of the show, an accident on the moon caused large chunks to be expelled from the surface.
This was a fun exercise in Blender where I used procedural modeling, boolean modifiers, the Cell Fracture plugin, and some physics simulations to get the final result.
I finished the animation course I was taking from CGCookie, and the last exercise is a full walk cycle with a bipedal character. CGCookie provided the fully-rigged character, so the exercise was completely focused on animating the full walk cycle, including translation while the character moved.
It was a fun exercise, and getting each little movement down to a believable action was challenging. Here’s the final result!
I started to dive into Blender animation techniques by taking the CGCookie Animation Bootcamp course. It’s a good introduction to the controls available in Blender for animation, along with a refresher on basic animation concepts.
For one of the exercises, I animated falling balls and had them interact with each other and the uneven ground. There is no squash or stretch yet in the animation: this is a straight-on shot with some simple translation and rotation changes.
It was fun getting the different interactions, and I am proud of the result. It has been quite a while since I opened up a graph editor and moved around keyframes and spline handles.
Here is my final result, using a simple viewport render straight to a video file (in other words: low quality).
I am still playing with Blender, learning more about the software, and improving my general 3D skills.
I bought a course on Udemy for creating 3D environments in Blender, which I have been slowly getting through. I have learned some new photorealistic techniques, but I also found that I disagreed with some of the steps taken by the instructor. Also, I ran into problems with scene complexity, where the scene had so much geometry and heavy texture images that I could no longer render an image on my GPU (video card). It also slowed down the GUI significantly, which made working on the scene painful.
I recently watched the anime film Blame! on Netflix and really enjoyed some of the artwork, especially the environments.
So I spent a little time with Blender 3D and the default cube to create a very simple, stylized environment in the same vein.
Rendered with Cycles at 512 samples/pixel. Render time: 40 minutes.
To make the floor and ceiling, I scaled the default cube in different ways and duplicated it, many many times (about 1600 total cubes, I think). The environment is lit using three area lights – one far out in the distance, one above the ceiling to add more ambient light, and a fill light coming from near the camera.
The character is from Mixamo.com, a resource from Adobe for free fully-rigged characters (and even some pregenerated animations). I added an extra spotlight to the scene to add some focus to that character.
Finally, I used some compositing nodes to complete the scene. The “bright light” in the distance was added in the compositor using an Alpha Over node to add a bright color, and some additional blur to complete that effect. I used a Mist Pass to fake some atmospheric haze. I added a little Lens Distortion to better mimic a wide-angle lens. And lastly I added a RGB Curves node to make some final color adjustments.
It was fun putting together a full composition, even if the elements were actually pretty simple. The scale of the scene created the biggest challenge, which was lighting. The distant area light, for instance, is 15km wide and puts out 200 MW of power! I still think the lighting could be improved, but I’m happy with this fun little test.
One of my interests in 3D is generating cel-shaded images and animations. Blender supports cel (aka toon) shading and other non-photorealistic (NPR) shading methods through clever uses of node networks. If you’re using the Cycles render engine, you can even use the built-in Toon Shader.
But the Blender comes with a real-time render engine, Eevee, and it would be great to combine its fast render times with a cel-shading solution. Unfortunately, the Toon Shader BDSF only works with Cycles (as of v2.82), but there are some workarounds for using Eevee.
For reference, I rendered this image with Cycles with no light bounces. Both objects use the same single Toon BSDF shader and the ground plane uses a Principled BSDF. This one frame took over a minute (1:06) to render.
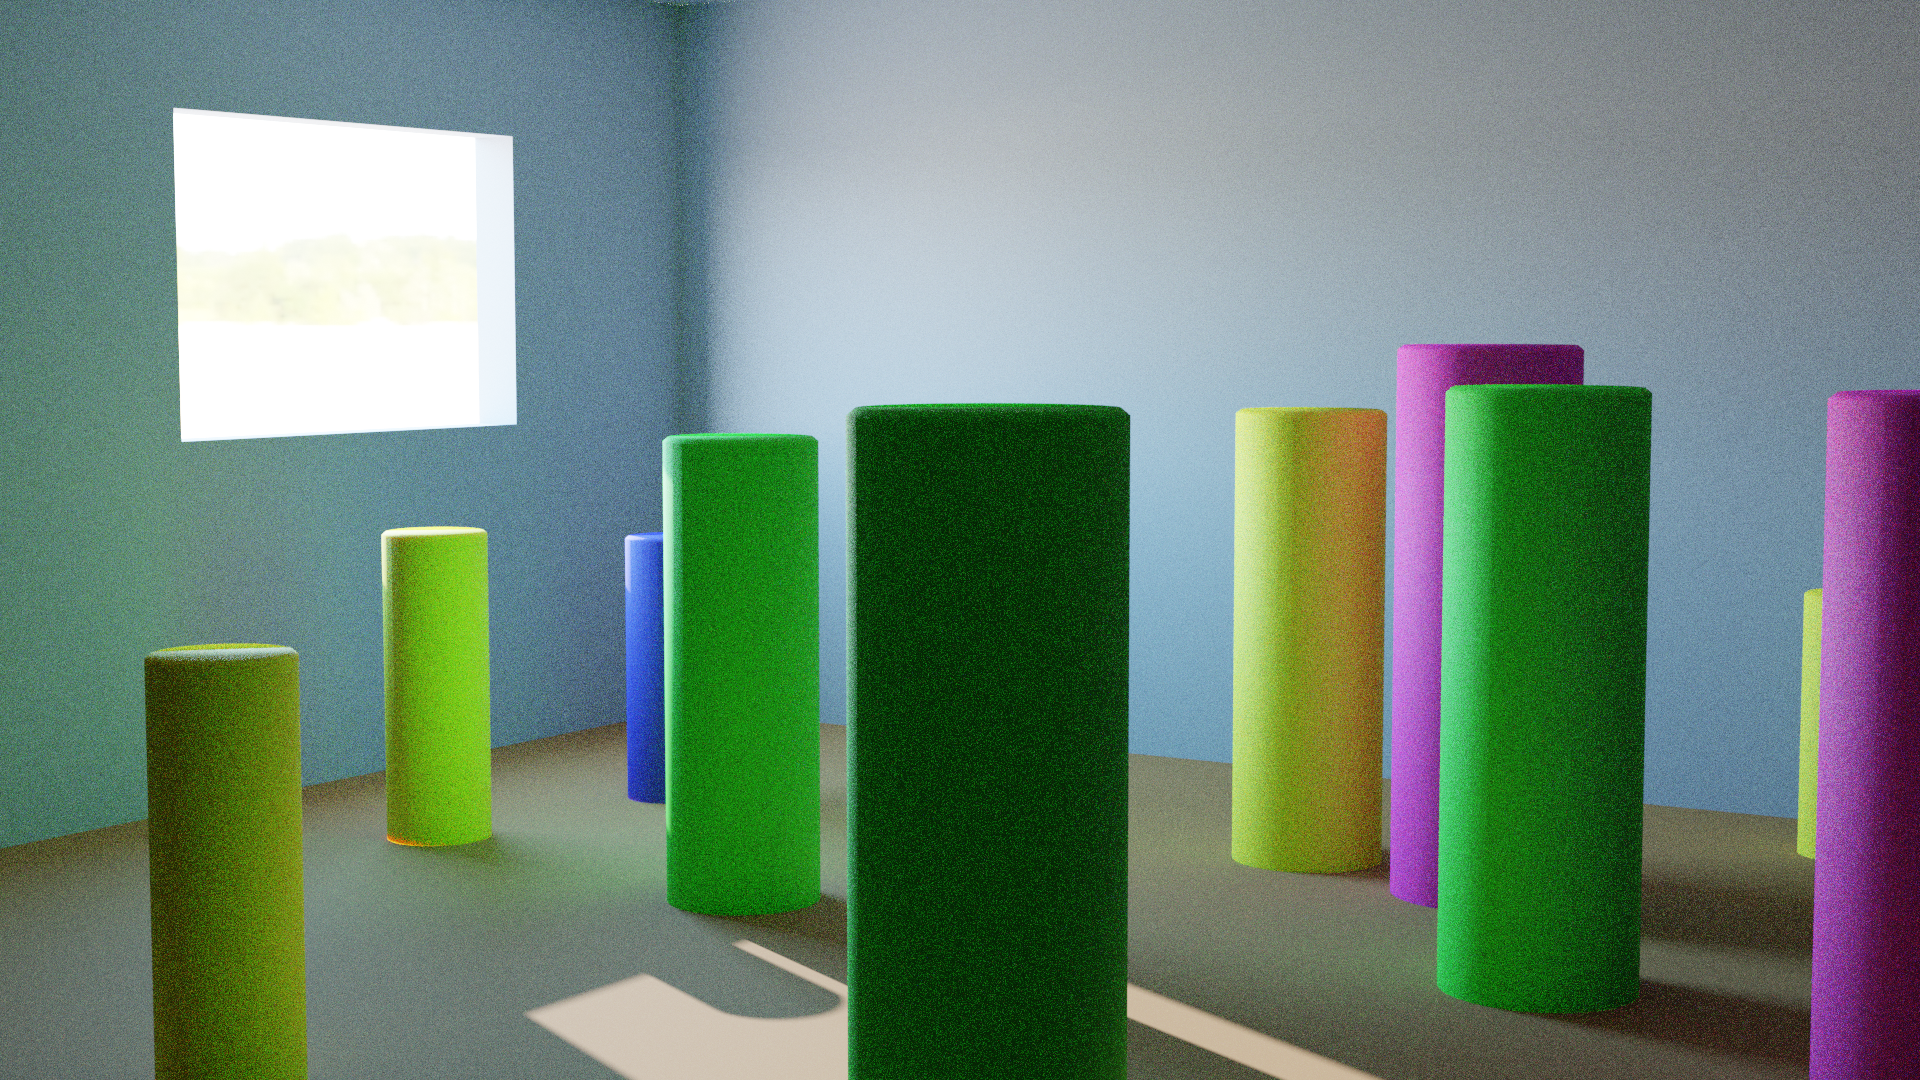
My test scene is lit with a HDRI image outside for global illumination and a single Sun lamp to add some directional light coming in through the window. I also added an area light in the window configured as a portal, to improve performance of the HDRI lighting inside the room.
No volumetrics yet. Render time: 5:41 at 512 samples per pixel