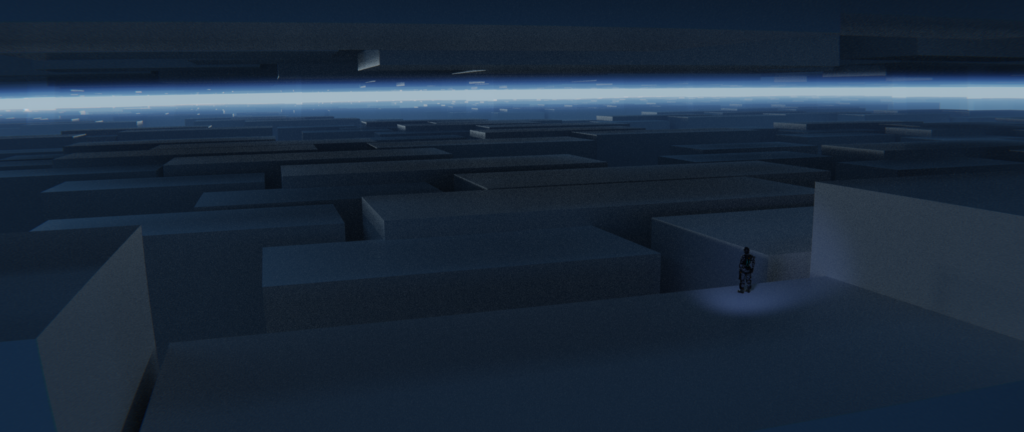
I recently watched the anime film Blame! on Netflix and really enjoyed some of the artwork, especially the environments.
So I spent a little time with Blender 3D and the default cube to create a very simple, stylized environment in the same vein.
To make the floor and ceiling, I scaled the default cube in different ways and duplicated it, many many times (about 1600 total cubes, I think). The environment is lit using three area lights – one far out in the distance, one above the ceiling to add more ambient light, and a fill light coming from near the camera.
The character is from Mixamo.com, a resource from Adobe for free fully-rigged characters (and even some pregenerated animations). I added an extra spotlight to the scene to add some focus to that character.
Finally, I used some compositing nodes to complete the scene. The “bright light” in the distance was added in the compositor using an Alpha Over node to add a bright color, and some additional blur to complete that effect. I used a Mist Pass to fake some atmospheric haze. I added a little Lens Distortion to better mimic a wide-angle lens. And lastly I added a RGB Curves node to make some final color adjustments.
It was fun putting together a full composition, even if the elements were actually pretty simple. The scale of the scene created the biggest challenge, which was lighting. The distant area light, for instance, is 15km wide and puts out 200 MW of power! I still think the lighting could be improved, but I’m happy with this fun little test.

