One of the more interesting effects in 3D programs is volumetrics, which gives the ability to add mist, fog, atmosphere, god rays, and more to a scene. When I played around with LightWave and Maya in the past, I experimented with volumetrics but they came with a cost: significantly increased render times.
I started playing with some volumetric solutions in Blender 3D and unfortunately that cost has not gone away. When using full-blown volumetric effects, the render times go up 10 times or more.
In this first look at volumetrics, I am limiting my experiments to a quick outdoor scene I created, where I attempt to add an atmospheric light-scattering effect.
I started playing around with Blender 3D around the time 2.80 came out last year, and I am very impressed with the software. Although I haven’t dedicated enough time to it the last six months, I’m starting to focus more on learning the ins-and-outs of the software.
I’ve gone through some tutorials (including the entire donut tutorial, which I highly recommend if you’re trying to learn the software), so I feel pretty comfortable with the basics. Now I’m starting to play around with miscellaneous features, which will also give me more practice in the software. I plan on posting some of my experiments with Blender features here, as I learn about them.
No motion blur yet…
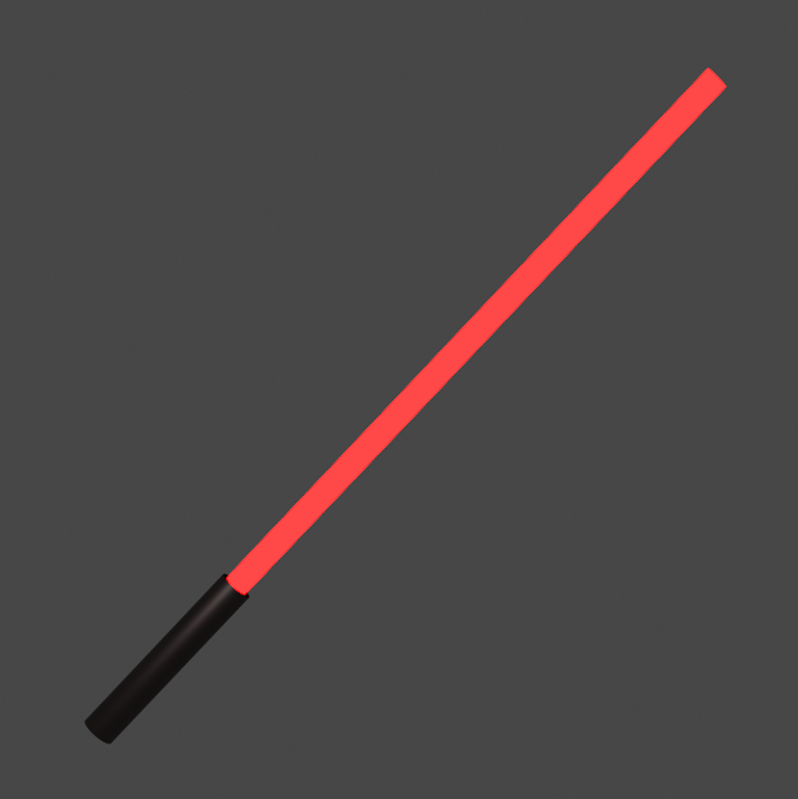
First up: motion blur. This feature is pretty simple to play with, so I set up a very basic scene. It’s basically a light-saber, with a simple black handle and a cylinder “blade” with an emission shader.
The first thing to know about motion blur in Blender is that currently (v2.82) there are limitations with EEVEE, the real-time render engine. Although motion blur works if you want to blur due to a moving camera, you cannot blur based on moving objects. Since I want to test moving objects, I had to change the render engine to Cycles.
This was announced back in December, but I just found out that Toonami will have a new TIE (Total Immersion Event) in the fall of this year. This new event will be called “The Forge”.
Are you curious about 3D printing? Watch my latest video to learn the basics of how 3D printers work, and at the end of the video I will tell you how you can start experimenting with 3D printing without even owning a 3D printer!
3D Modeling Software
As I mentioned in the video, there are several powerful 3D modeling programs that are available for free or with a free license for hobbyists and makers. Here is a quick summary of some of the most popular free 3D modeling programs: Continue reading “What Is 3D Printing?”
Fortunately, my wife gave me a Wacom Intuos 3D tablet for Christmas, which comes with ZBrushCore. ZBrushCore provides some of the same functionality as the powerful ZBrush modeling program that lets you sculpt your object, in a manner similar to modeling clay in the real world. This kind of modeling is perfect if you’re making something that is supposed to look organic. Continue reading “Modeling and Printing a Brain Slug from Futurama”
I have been reading about 3D printing for a while, but I haven’t had a chance to play with the technology yet. So I decided to test the waters by using a third-party 3D printing service, Shapeways, to print an object I created.
Click to view full-size image.
I decided to make a small 3D version of my site logo, since I already had objects for the buildings. So I fired up LightWave Modeler and set up a single object with the buildings connected by a base. I had to tweak the buildings to make them printer-ready: all pieces must be fully closed, you cannot have stray polygons, all polygons should be tripled, etc. Newer versions of LightWave have a convenient command, “Mesh Repair” (in the “Detail” tab), that will evaluate if the model is ready for 3D printing.
Once I had the completed model, I exported it as an OBJ file and uploaded it to Shapeways. The system automatically checks your model for errors, which takes a few minutes to complete. If you have errors, you can try to fix them using Shapeways tools in the browser or you can upload a replacement object. I had to fix the thickness of the antennae because they were too thin for the material I wanted to use. So I fixed that minor error in LightWave and uploaded the final file. Continue reading “My First 3D Printed Object”
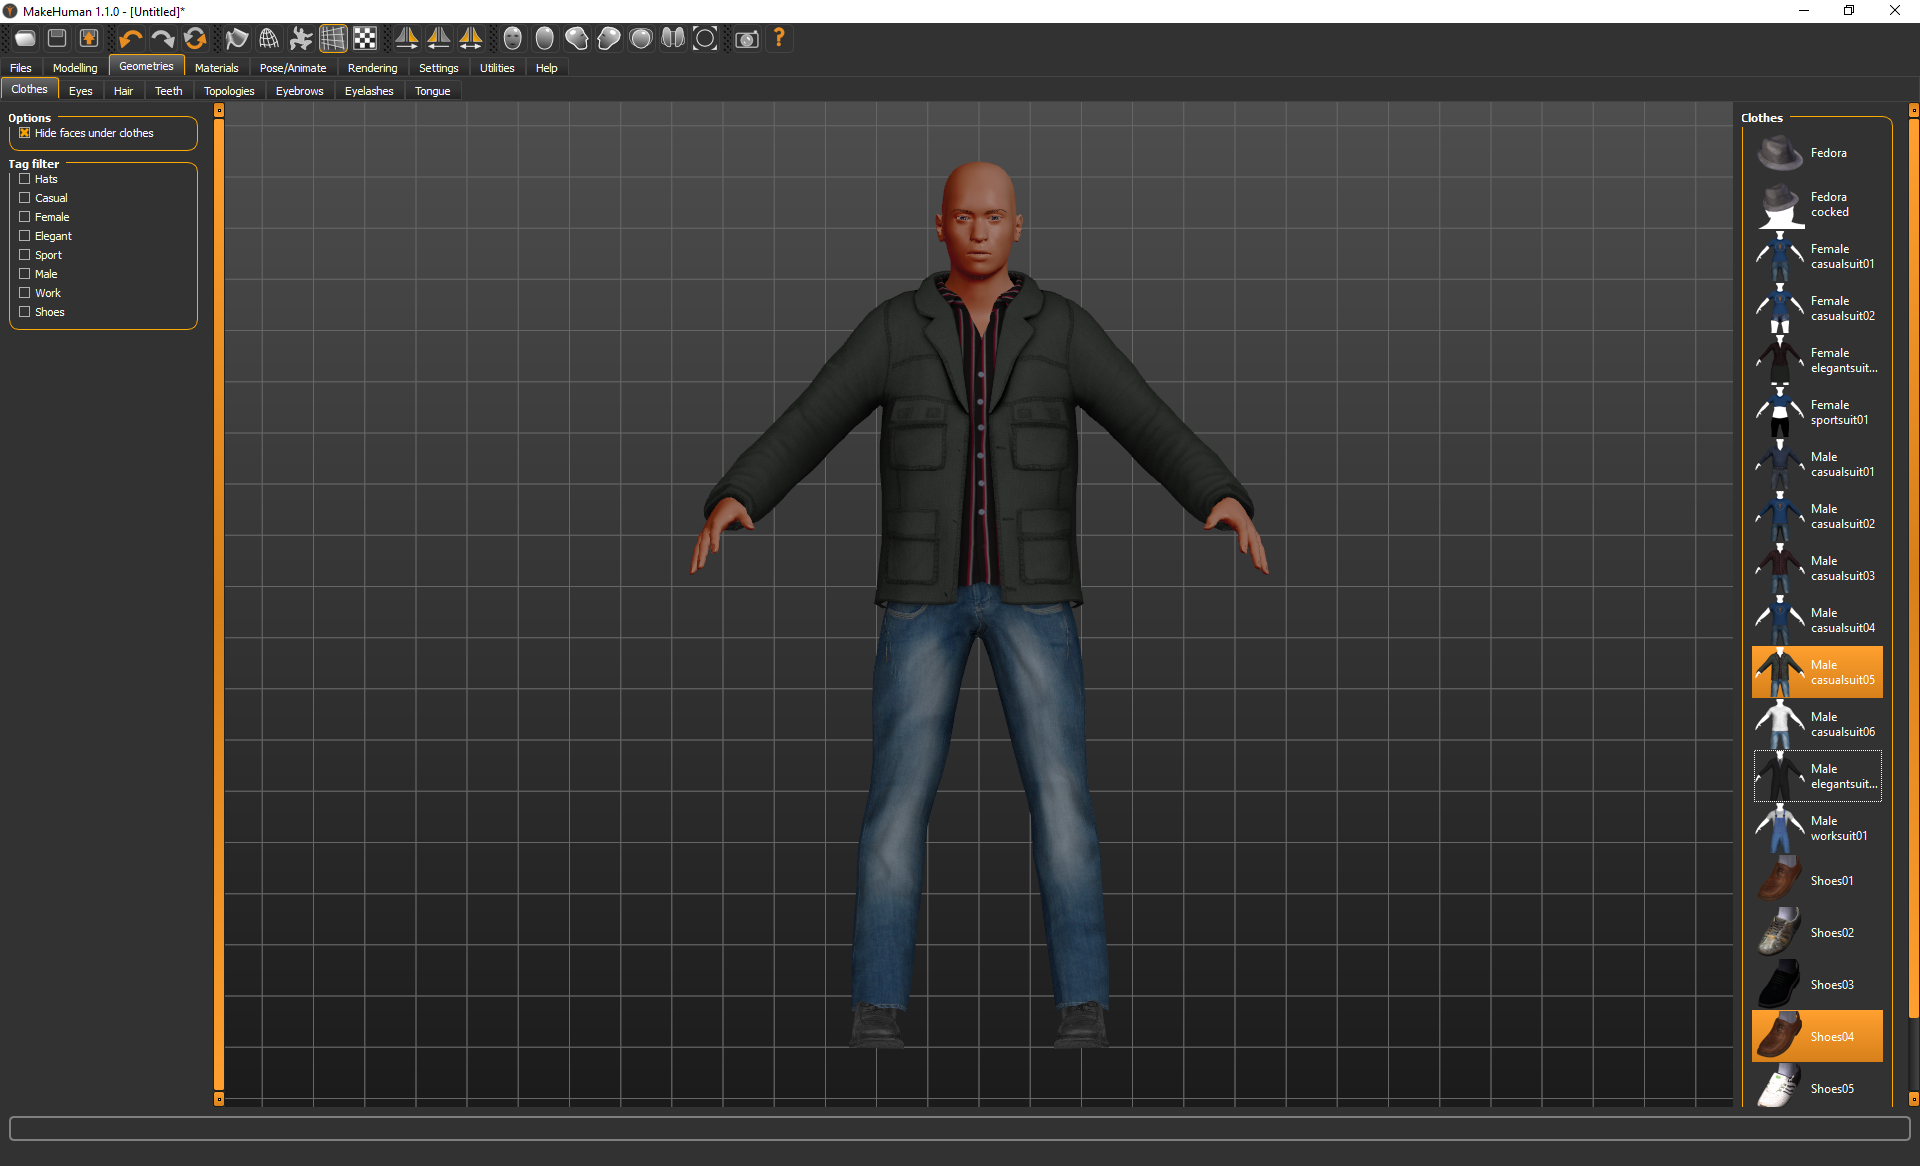
I recently discovered MakeHuman, an open source tool for creating 3D character models. MakeHuman is a standalone program that allows you to create a character mesh. Then you can tweak the base model using sliders for dozens of features, such as head shape, torso depth, finger length, breast size, and many more.
You can also add clothes and other accessories to your character within the application. In addition to the default clothes (named “Geometries” in the application), you can import community created accessories or even make your own in the 3D modeler of choice. And once you have your character model, there are preset poses you can use if you just want a static pose for a scene. Of course, if you want to rig the model, you can export using the A or T pose. Once you have your final character and pose, you can export the mesh to your choice of format.
A simple male character I created using MakeHuman (click to view full-size image).
MakeHuman is a useful open source application, but another developer, Manuel Bastioni, has improved on MakeHuman by turning it into a Blender plugin and adding significant improvements to the character generation. Many of the same model sliders are available within the plugin. Additionally, he created presets within each category that you can mix into your existing model. You can still use the preset poses in the plugin, but if you are going to stay in Blender then the character is already rigged for your own custom poses or animation!
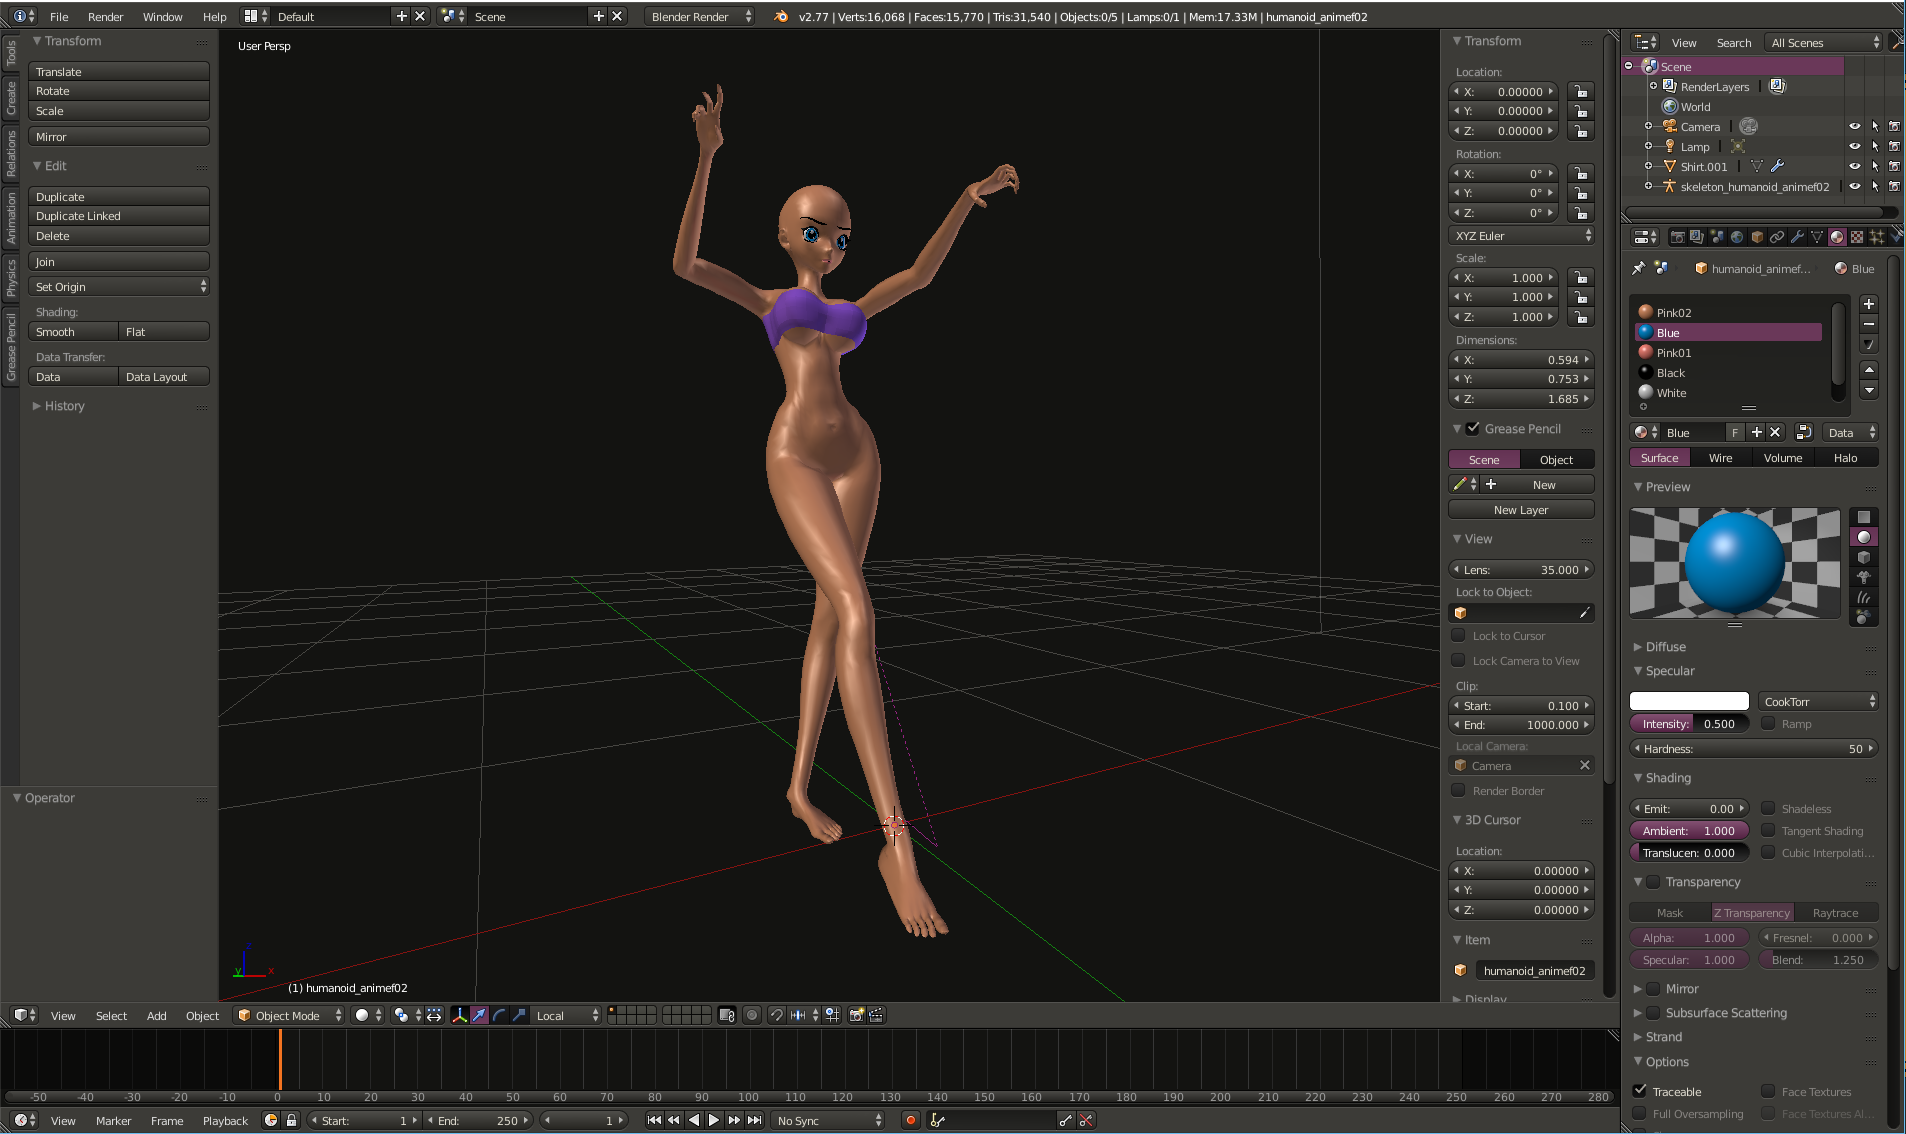
But I am most excited about the ability to use different base models. In addition to the standard realistic model, he added some anime-style base models, too. And if you create a character using the anime base model, all of the sliders will still work correctly even though the geometry is different than the realistic models.
Unfortunately, I am not very familiar with Blender. However, by using the Maya interface control settings and reading the beginning of a Blender tutorial, I was able to quickly learn enough to play with ManuelLab and create a very simple anime character (see below). I also created the ultra-simple “tube top” she is wearing in LightWave, to test out how clothes are created and then applied within ManuelLab (mesh created in LightWave and then applied in Blender).
A simple posed character I created using the ManuelLab plugin in Blender (click to view full-size image).
If you need to quickly create characters and do not want to build your own character meshes, MakeHuman and ManuelLab are great tools to add to your arsenal. Enjoy!
I finally looked into a more advanced animation pipeline feature named “linear color workflow”. The concept is simple: you can represent an image using a very wide range of values, thus preserving a very wide range of color values and brightness levels in a single scene. And if your entire workflow uses this high dynamic range data, you can perform sophisticated effects to the final image that are not possible when you are limited to the 8-bit integer RGB values that are normally used in JPG, PNG, and similar file types.
Pixar has partnered with Khan Academy to provide free education about the animation process to students. The course is named “Pixar in a Box“.
Khan Academy provides free online courseware for students. Unlike Coursera and other so-called “open” education sites, Khan Academy does not charge for any of their courses and does not even use advertising. The website originally started as a series of YouTube videos by founder Salman Khan, who was tutoring his cousin.
Most of the courses are geared towards general education of K-12 and college students, with courses like “6th Grade Math” and “Chemistry”. More recently, Khan Academy has started partnering with other companies, universities, and museums to provide more niche education. The “Pixar in a Box” course is designed for middle-school and high-school students, but it is available to everyone.
The courses are math-heavy, showing how math is used the animation process. For example, one course explains how trigonometry is used to create the Pixar worlds and another teaches how weighted averages are used to create characters. Pixar’s goal is to show how academics relate to real-world applications that students care about.
Creating a marble texture in Maya is as simple as adding a single node. But you can use a more advanced node network to further improve the look of the material. This tutorial will show you how to assign a simple marble texture to an object and then build on that simple texture by adding additional nodes.
Scene
In preparation for this tutorial, I created a very simple scene: a polygon sphere (radius: 1.000), a camera pointed at the sphere (focal length: 55), a key light off to the left of the camera and a fill light (40% intensity) from the right of the camera. Continue reading “Maya Marble Material Tutorial”