After experimenting with some outdoor volumetric effects, I switched to some indoor experiments with volumetrics.
My test scene is lit with a HDRI image outside for global illumination and a single Sun lamp to add some directional light coming in through the window. I also added an area light in the window configured as a portal, to improve performance of the HDRI lighting inside the room.
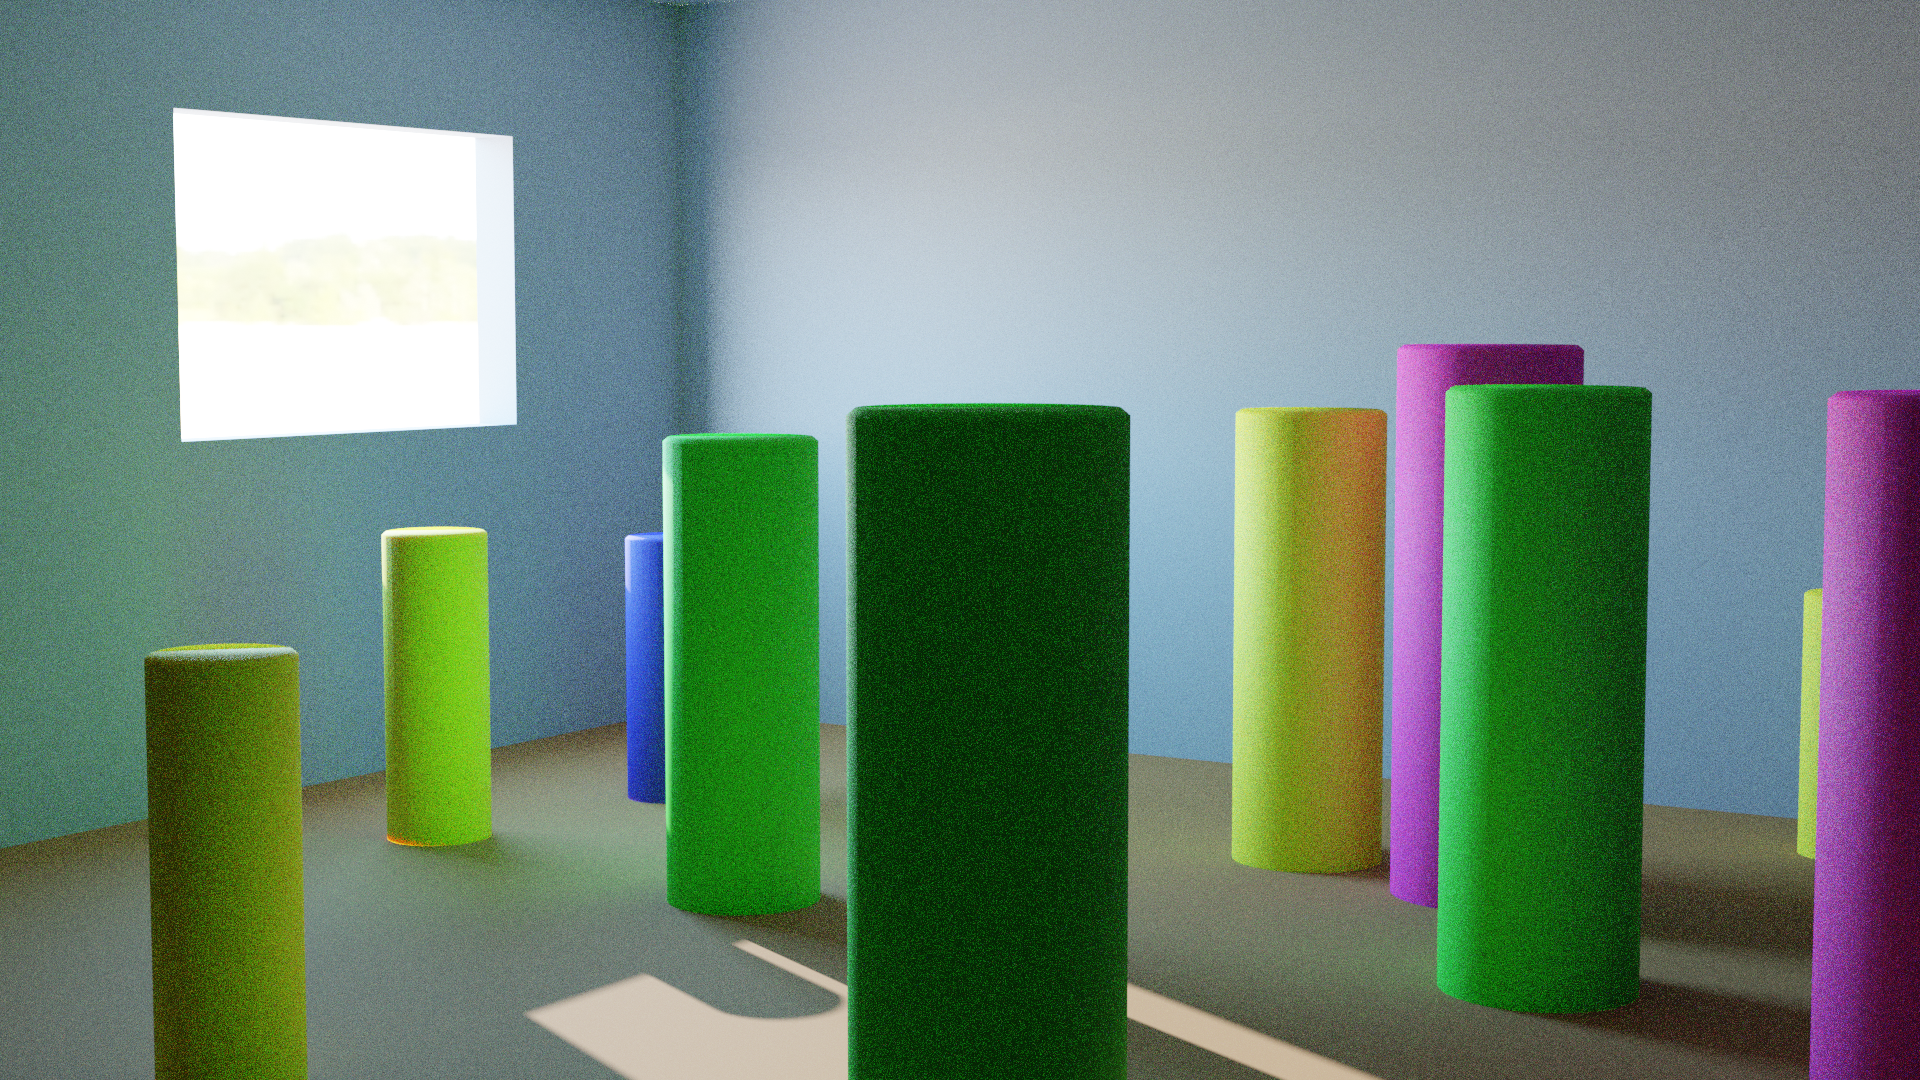
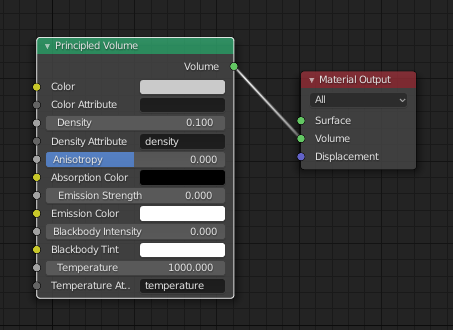
To add some volume to the light streaming in from the window, I added a cube around the room and applied a Principled Volume shader.
Adding the volumetric effect only added an extra minute of render time in this case.

Render Noise
Because the only source of light is coming from a small square (the window) and then bouncing around to light up the whole room, the renders have a lot of noise.
I tried two different approaches to improving the render: a light portal and a denoising step.
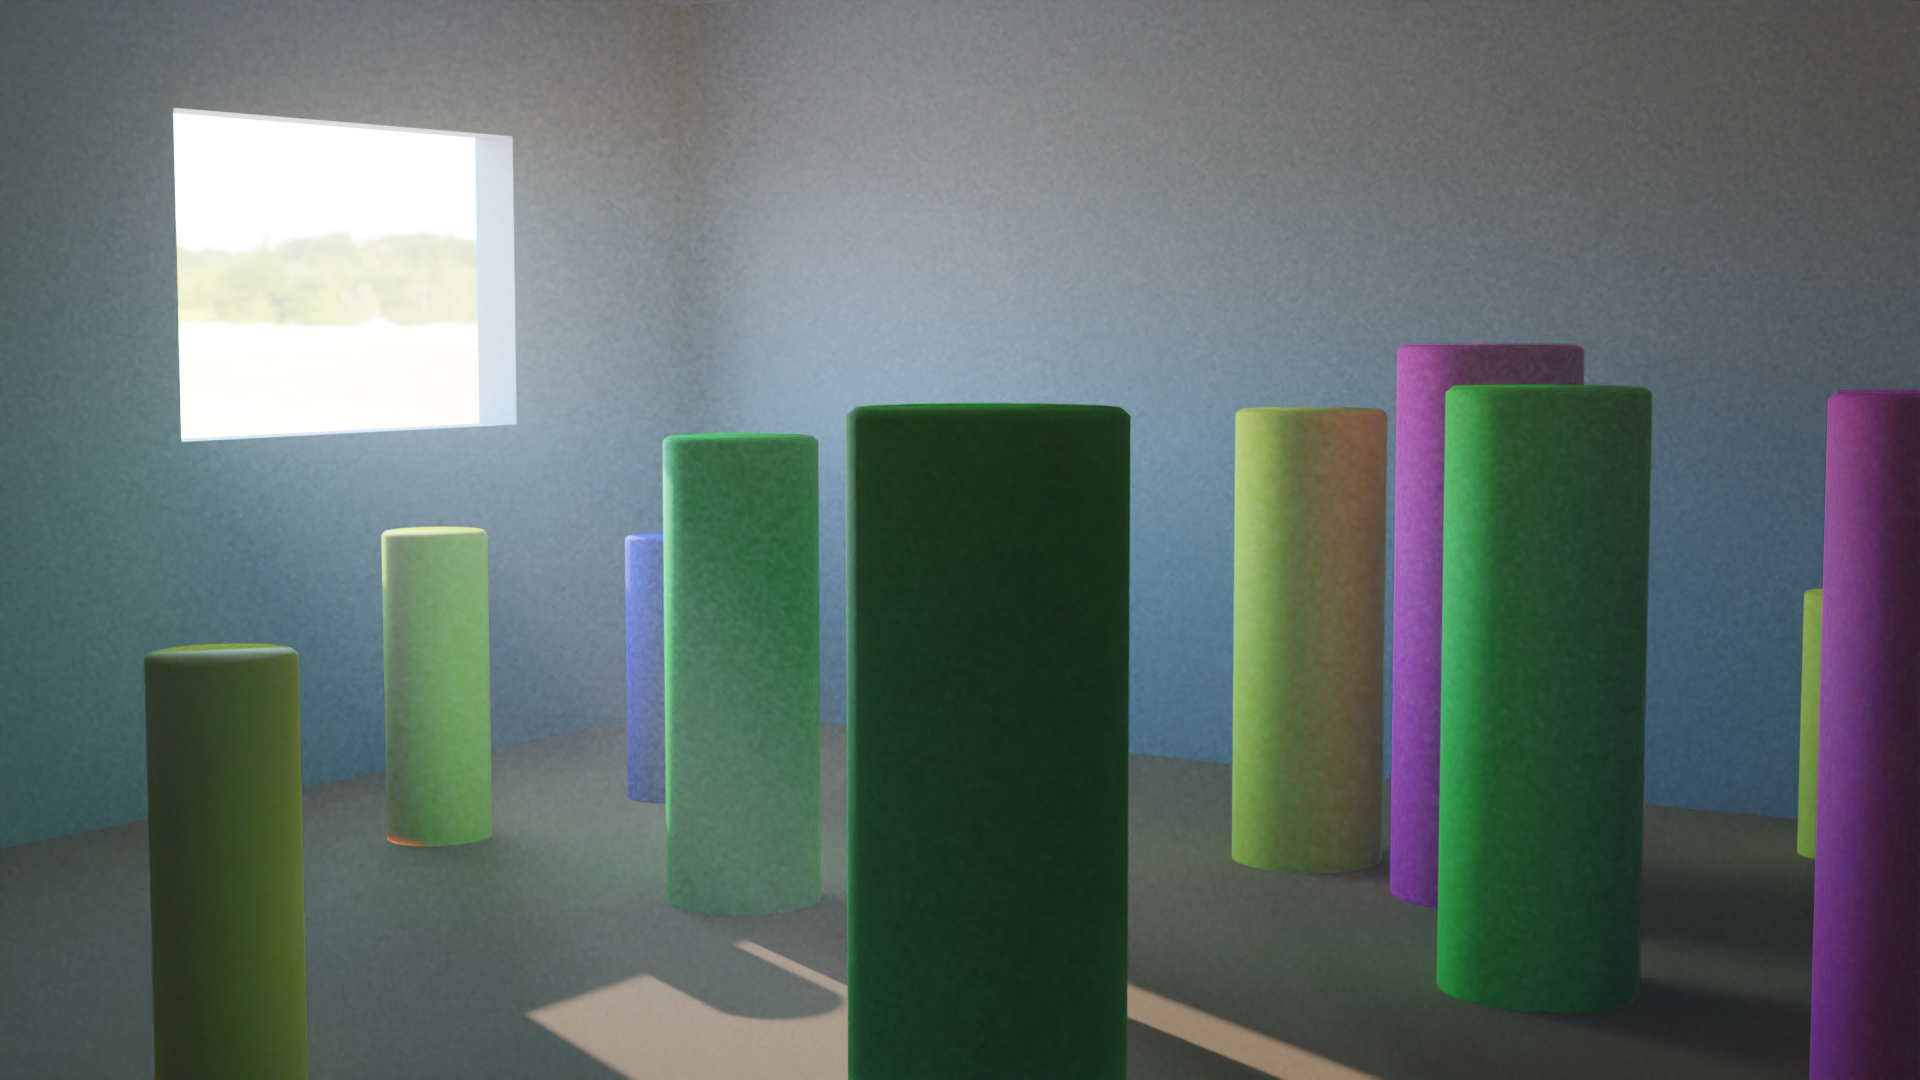
A “light portal” is an area light with the Portal option enabled. Instead of using that area light as an actual light source, it instructs the Cycles render engine to direct the global illumination through that area, improving the light quality in situations where outside global lighting is used for an interior scene. For comparison, here is how the same scene looks without the portal (and no volumetrics):

The room is noticeably darker (because less light was calculated into the scene) and has more noise.
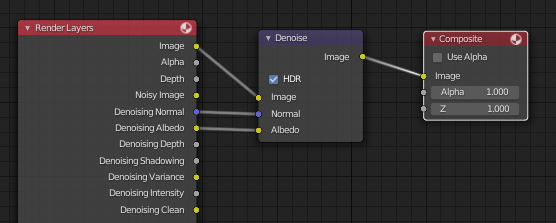
The other option for reducing noise is to use a post-processing step that was added to Blender in 2.81: the Denoise compositor node. There are plenty of tutorials that go into more depth, but basically you just need to enable the “Denoising Data” in the view layer’s data passes, and then run the Image, Denoising Normal, and Denoising Albedo outputs through a Denoise node in the compositor.
Here is an example of the volumetric render with a Denoise node:
Given that the scene started with so much noise, it’s not surprising that the final result is still splotchy. But in the right circumstances, it’s a handy tool to have available.