One of my interests in 3D is generating cel-shaded images and animations. Blender supports cel (aka toon) shading and other non-photorealistic (NPR) shading methods through clever uses of node networks. If you’re using the Cycles render engine, you can even use the built-in Toon Shader.
But the Blender comes with a real-time render engine, Eevee, and it would be great to combine its fast render times with a cel-shading solution. Unfortunately, the Toon Shader BDSF only works with Cycles (as of v2.82), but there are some workarounds for using Eevee.
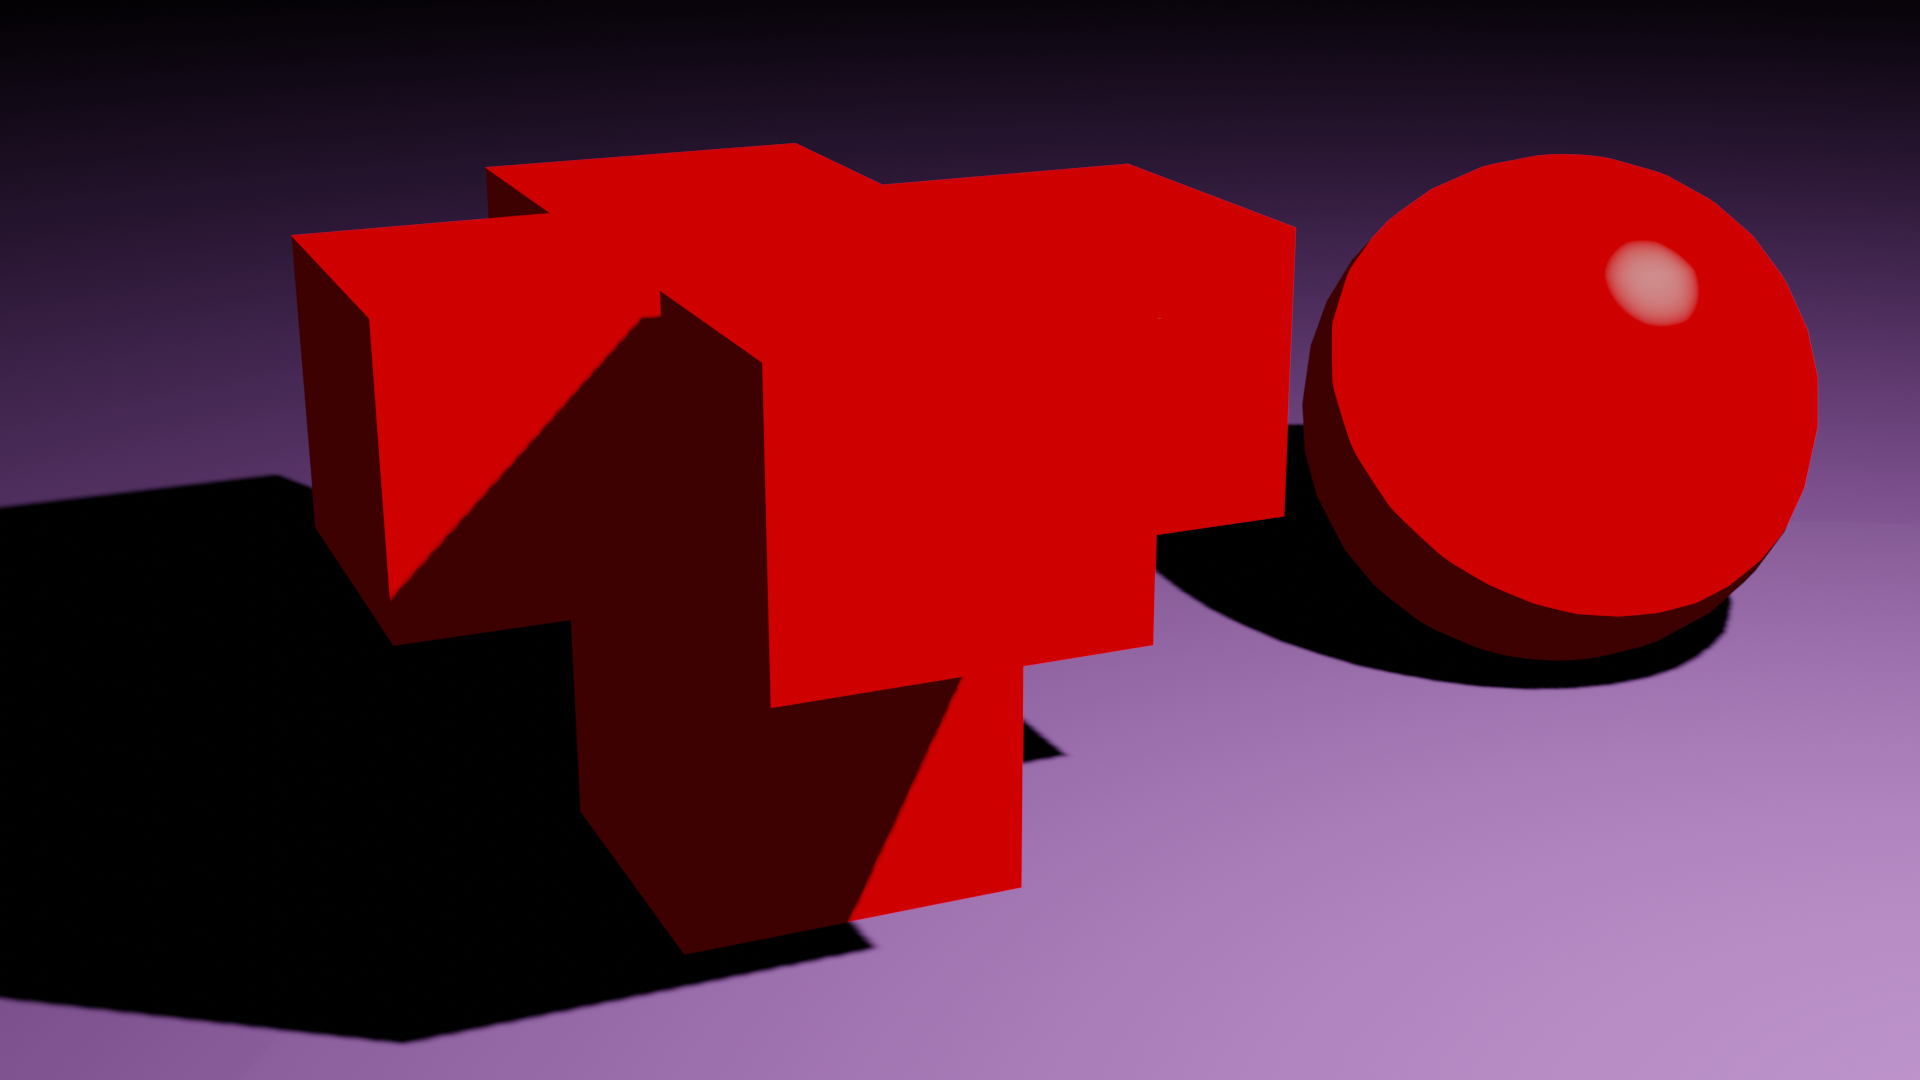
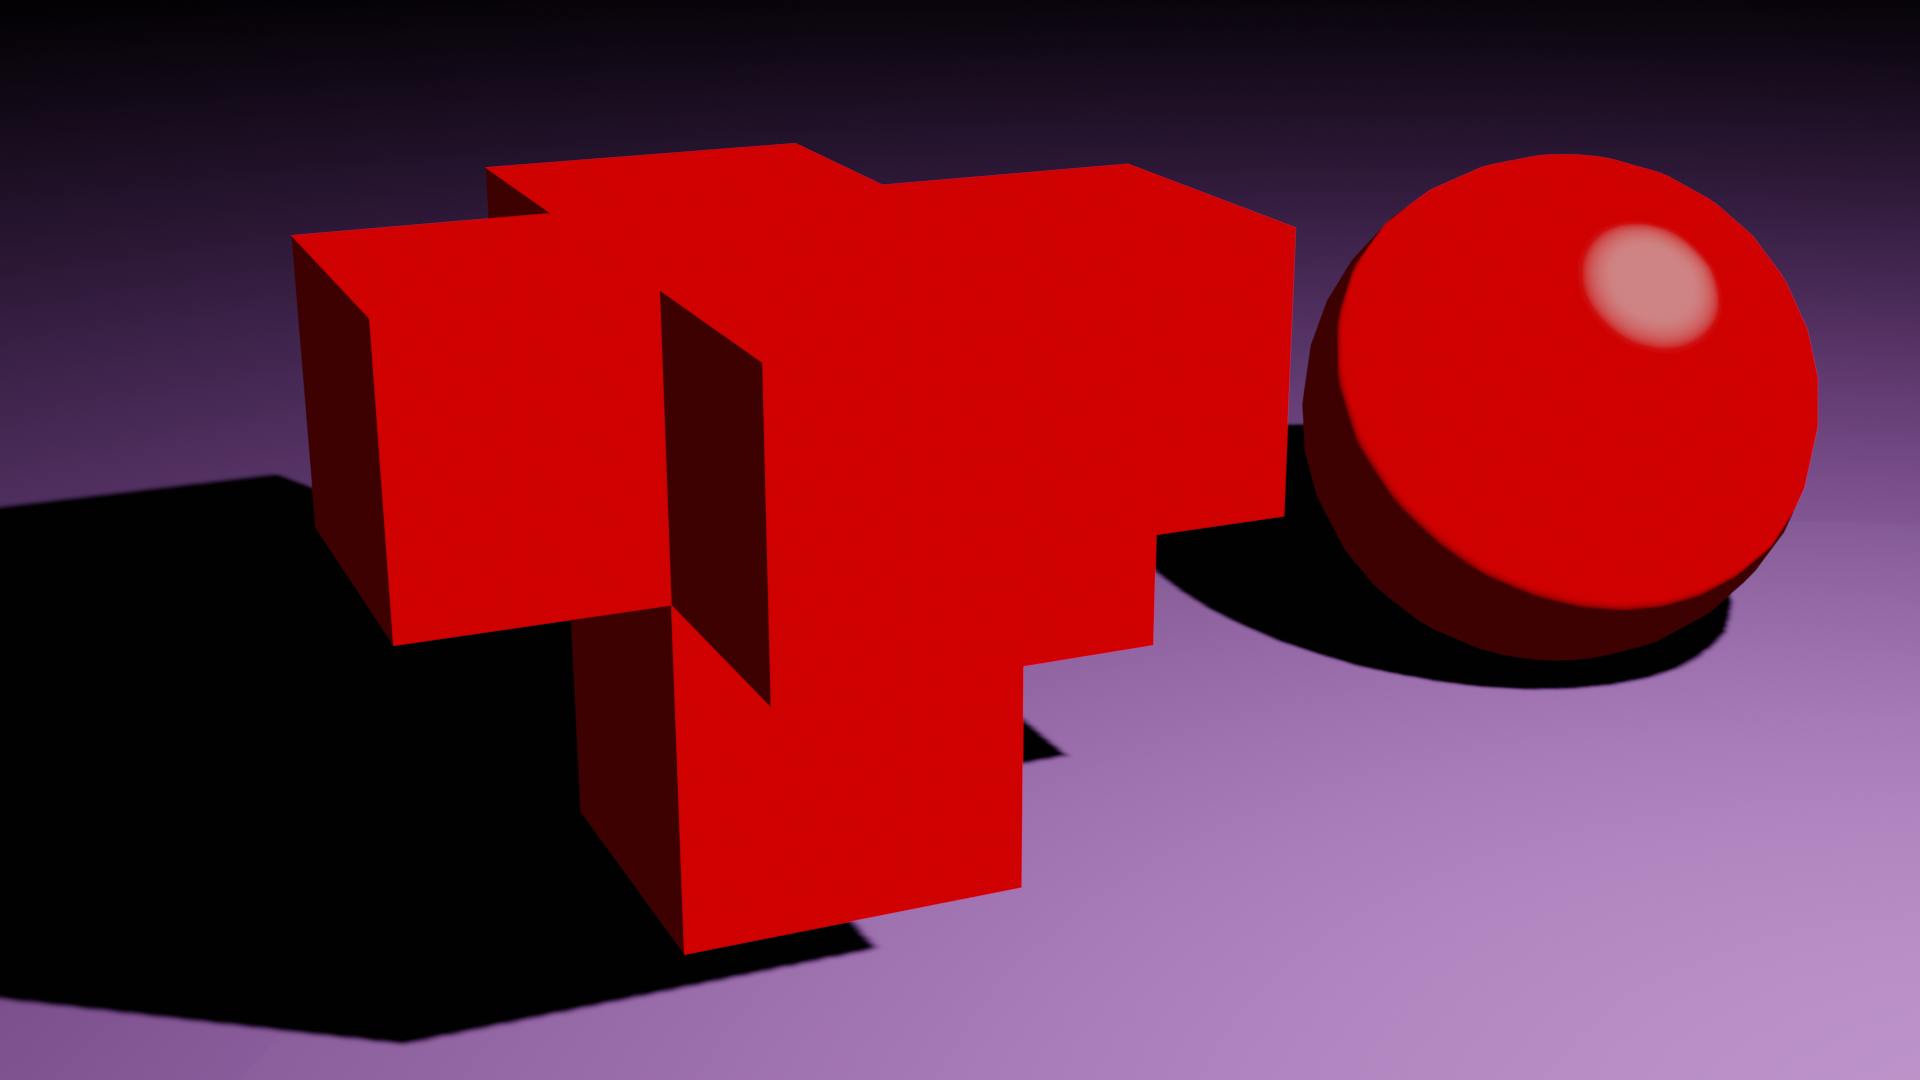
For reference, I rendered this image with Cycles with no light bounces. Both objects use the same single Toon BSDF shader and the ground plane uses a Principled BSDF. This one frame took over a minute (1:06) to render.
Custom Node Group Using Diffuse Shader Output
My first approach uses a Diffuse BSDF shader to get existing lighting information on the surface. Eevee has a convenient Shader to RGB node that I can use to drive the rest of the node network. Then, I extract the “Value” from the HSV color and use that to determine which color band to render.
I organized the entire node network in a convenient Node Group you can drop into your scene, if you want to try it out or see how I implemented it. It supports three color bands: the base color, a shadow, and a highlight. To use it in your scene, use File -> Append to add the node group. Then in the Node Editor, you can select the CelShader3 from the Add -> Groups menu.
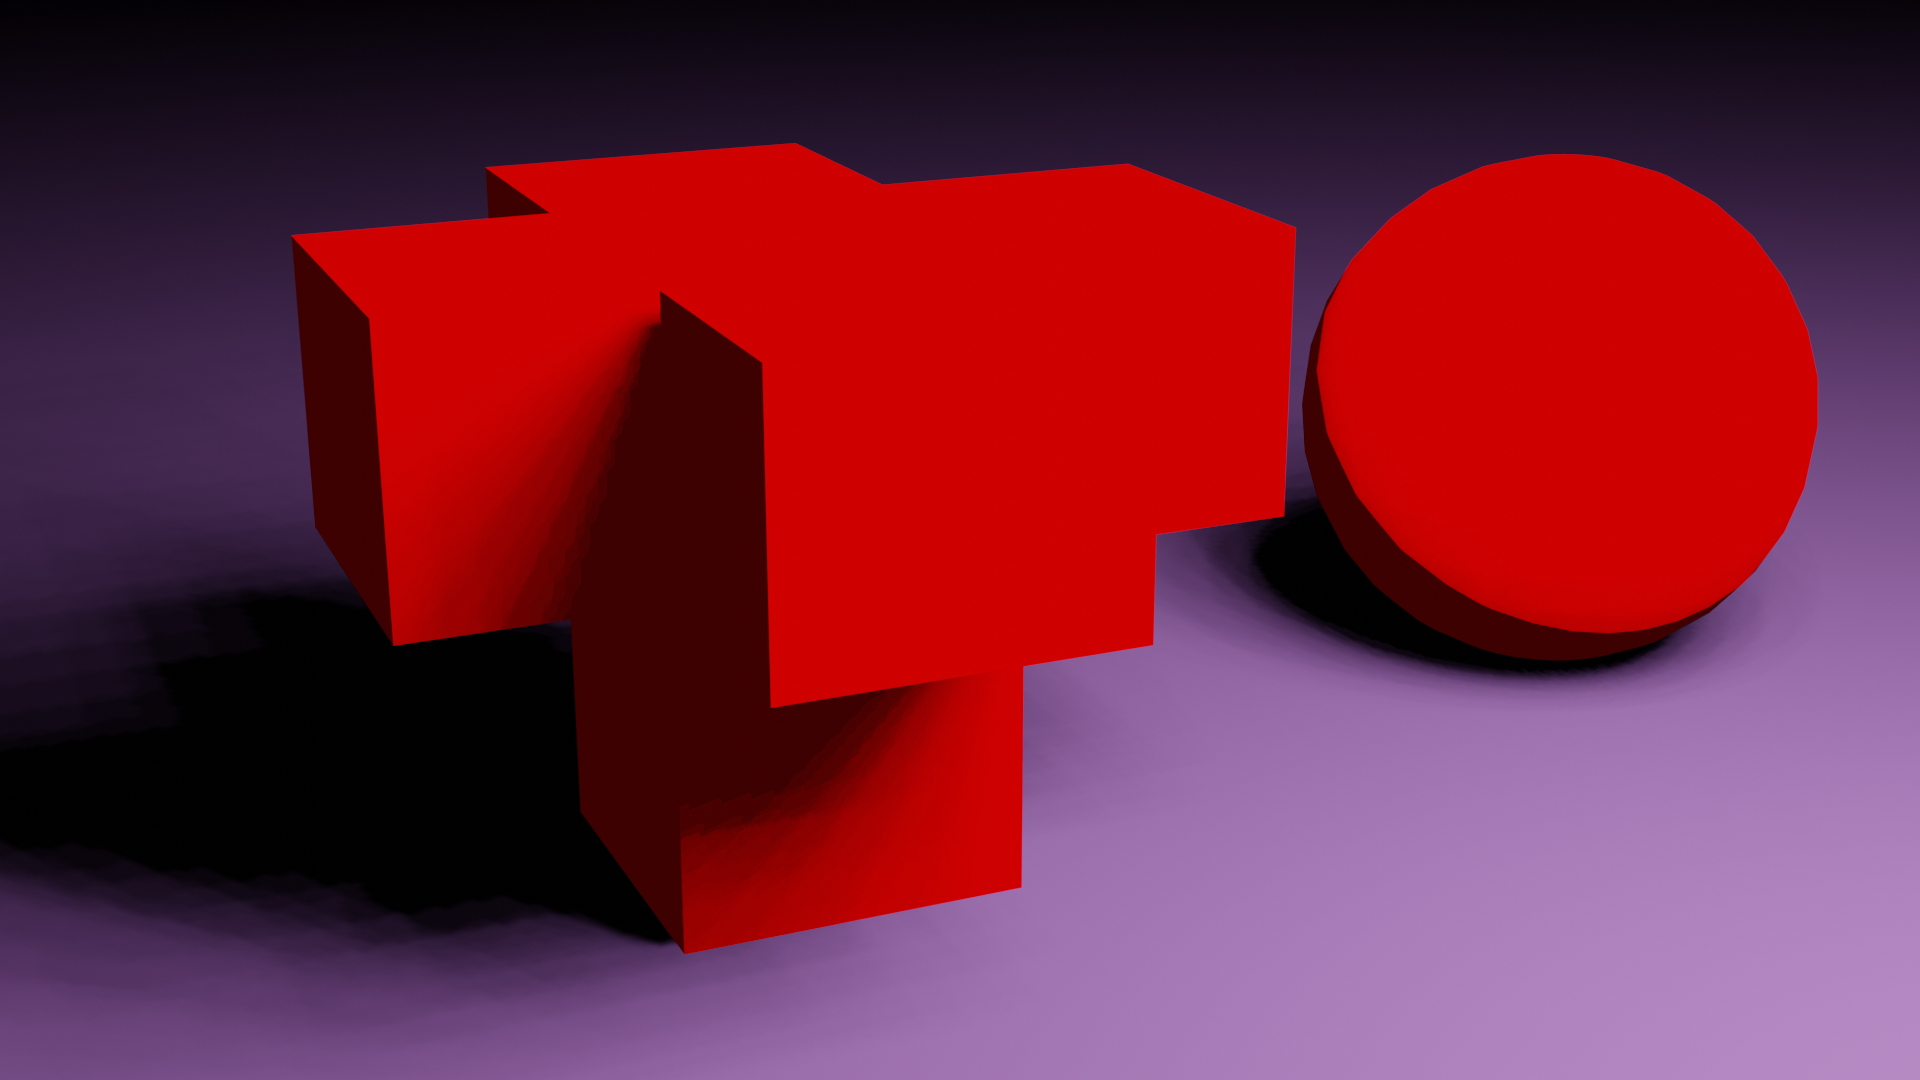
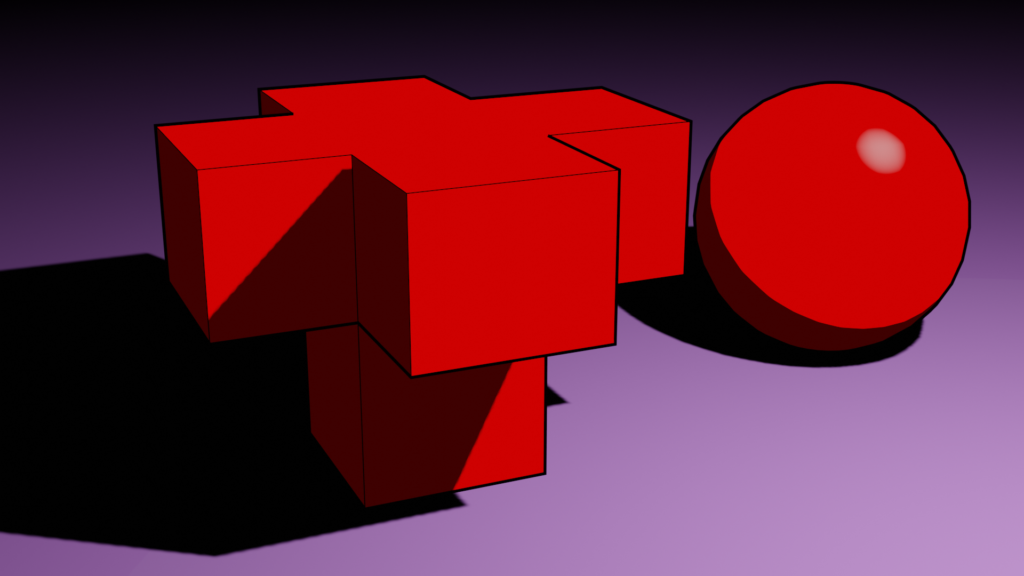
Here is the same frame rendered using Eevee and my node network. This render took 0.47 seconds, which is about 140 times faster than the Cycles render!
There are some shortcomings with this approach. I could only get clean shadows if I used a Point Lamp with the size set to 0. Any other light or size caused glitching with self and cast shadows.
The node network is also pretty simplistic. It works great for simple color bands, but if you need anything more complicated (for instance, texture maps) you’re out of luck.
Node Network Using a Light Source and Vector Math
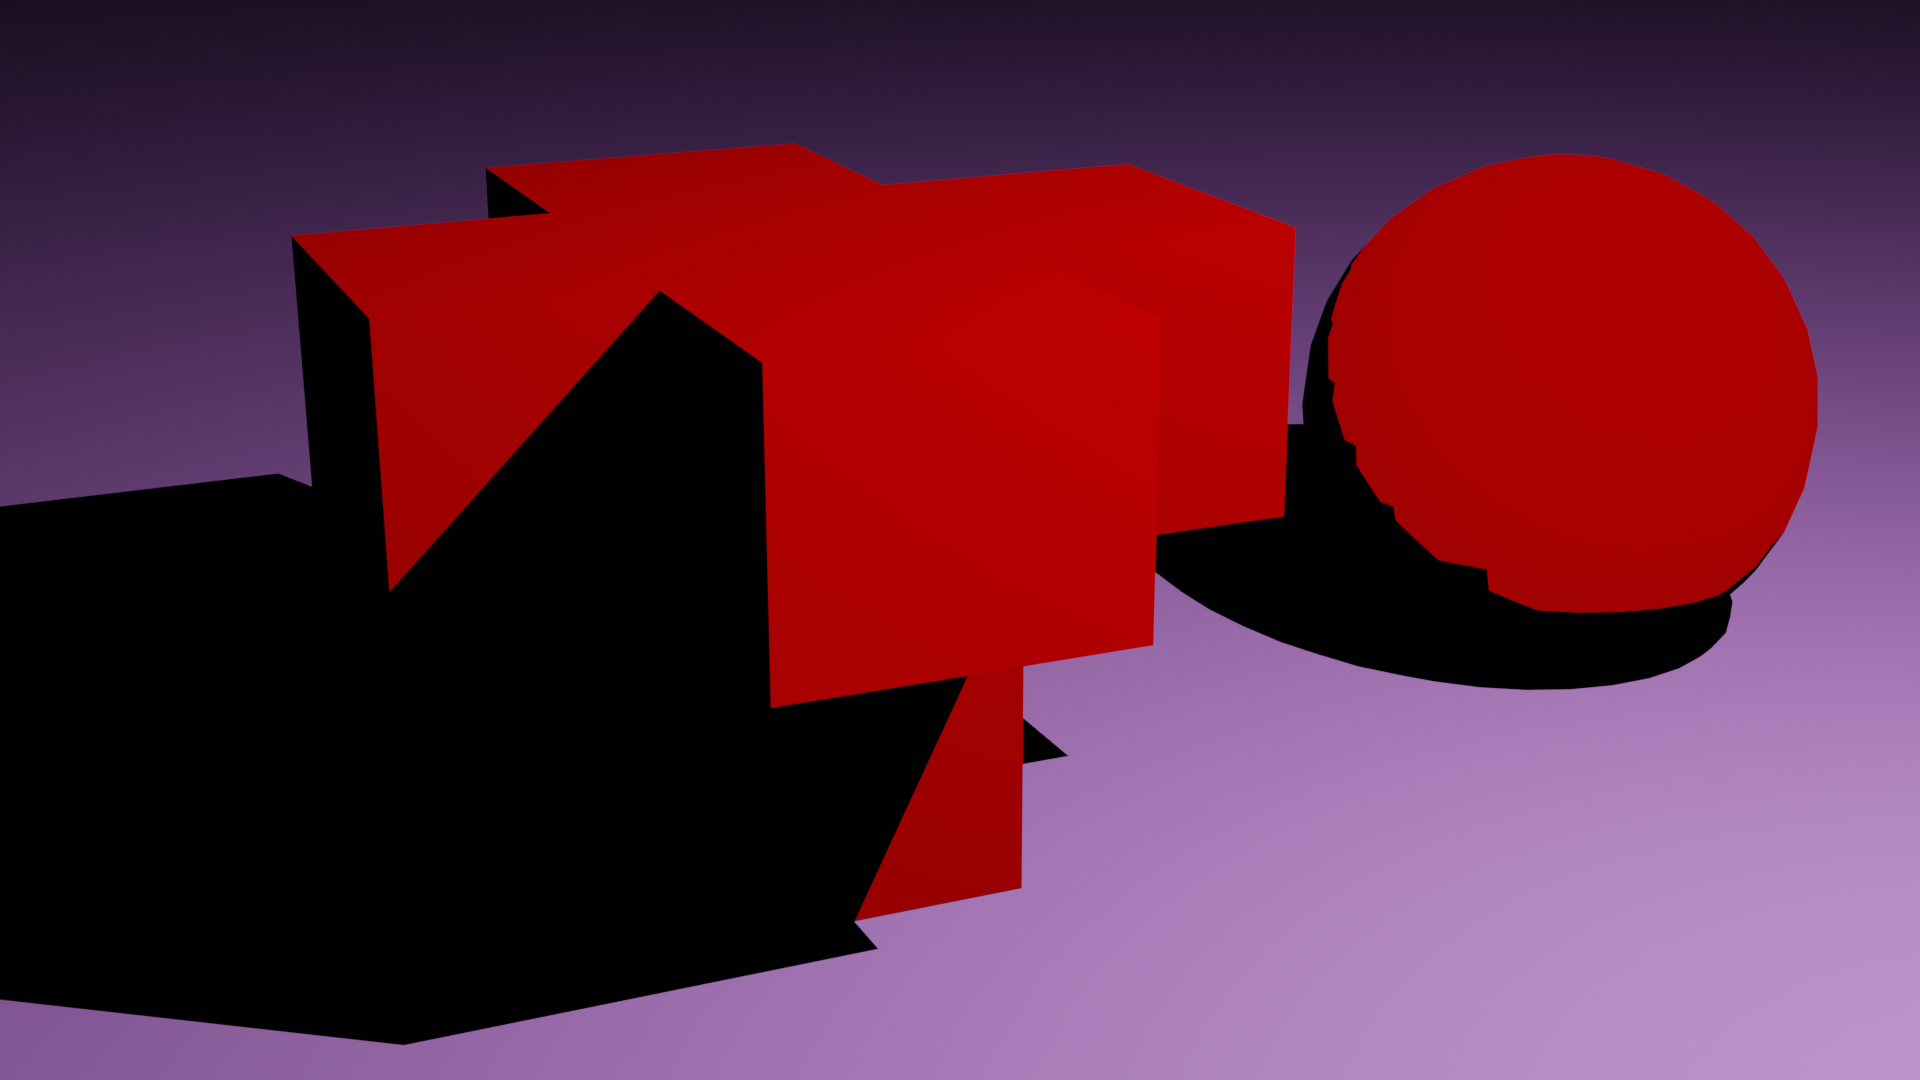
For a different approach, I used vector math to calculate the angle relative to a light source, and then shaded each point using that math:
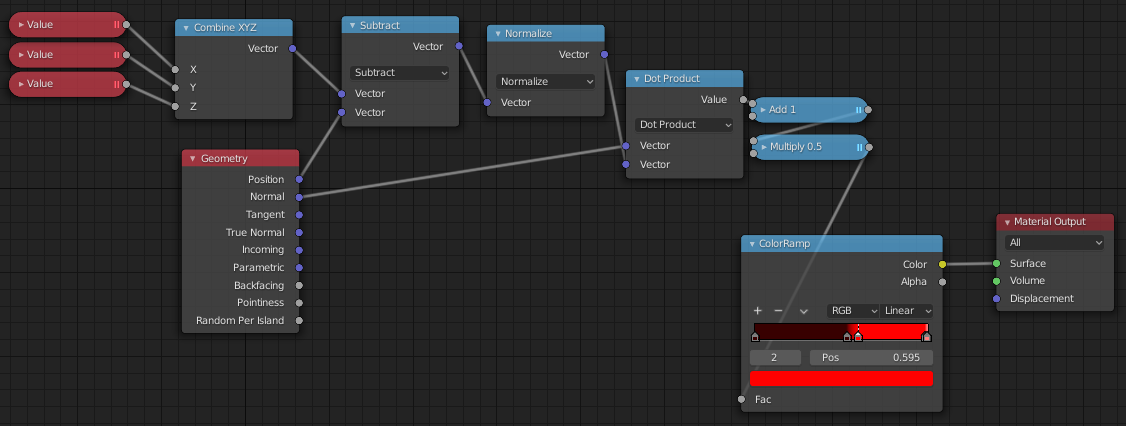
- The Value nodes at the left are driven by the X, Y, and Z location values of the light source (using a separate Driver for each Value).
- They are combined into a single vector by the Combine XYZ node, which is the position of the light in world coordinates.
- By subtracting the Geometry position value, you get a new vector that represents the direction from the surface to the light.
- The Normalize node ensures that the vector has a length of exactly 1, which is important for the ColorRamp later on.
- Taking the Dot Product of the normalized vector pointing to the light and the normal returns a value between -1 and 1, where 1 means the normal is pointing exactly at the light, 0 means the normal is perpendicular, and -1 is when the normal is facing directly away from the light.
- The next two Math nodes convert the -1…1 range to a 0…1 range,
- Which is finally fed into a ColorRamp that drives the final color of the material.
Points that are almost directly facing the light are shaded the brightest, points that are facing away from the light are in shadow, and the points in between are shaded in the base color. The ColorRamp lets us control the thresholds between those colors.
There are shortcomings to this approach:
- Only 1 light can affect any given object.
- You must manually tie that light to the material using Drivers.
- The material does not support self-shadows or shadows cast from other objects onto itself.
If you’re looking for a simple shader that accurately handles one light and does not need self or cast shadows on itself, this is a great option.
Freestyle
While we are on the topic of cel-shading, Blender has a very powerful line-drawing feature called Freestyle. It allows you to add lines to the render based on elements of the geometry, such as the silhouette, calculated creases, material boundaries, etc. Or, for much more powerful control over the final lines, you can also use Python scripts to generate them, although that is a very advanced topic.
Using the Parameter Editor (no scripting), I was able to quickly add some lines to the render. The actual lines are added after the render is complete, which increased the render time to 0.87 seconds.
It also looks nice when rendered as an animation!
Final Notes
Blender has a lot of powerful ways to implement NPR styles in Eevee, and I feel that I have only scratched the surface. I like my first approach best so far, but I plan on spending some time improving it to get better control over the output and support more features, like texture maps.
After fumbling around on my own to figure out these approaches, I searched online for additional resources. There are some great articles and videos about cel shading and NPR approaches, and here is a sample of some of the better ones I found:
- Some really cool cel and textured-toon effects in Blender
- A tutorial for creating anime-style attack beams
- BlenderNPR.org, a site dedicated to non-photorealistic rendering techniques
- An in-depth tutorial on creating your own toon-shader network (I haven’t watched the entire series yet, but the result in the video intro looks phenomenal)