Compiling the glTF to USDZ Converter

Google has a utility to convert glTF files (a 3D transmission format for the web) into the USDZ format (a 3D format released by Apple that is based on the USD format from Pixar). Unfortunately, if you want to use this utility you need to build it from the source code. This one is going to get really technical, but putting together all of these pieces took me quite a bit of time so I figured these directions would be useful to others! If you want to build the usd_from_gltf project on Windows WSL using Debian, read on!

Why?

I recently learned that Apple platforms (Mac, iPhone, etc.) can send and receive 3D objects and use them directly in Augmented Reality (AR) mode. If you have an Apple device, you can see what I mean by visiting the Apple Augmented Reality Quick-Look page; try clicking on one of the 3D models and allowing your browser to access your camera. The 3D model (and any associated animations) can be placed in-camera into the environment that you are viewing!

But of course, there is a catch – the file needs to be in a USDZ format. What is USDZ? It’s a format Apple designed that is based on another format, USD, which Pixar has made available to the 3D community. USD is gaining popularity and adoption as an interchange format for 3D pipelines, because it supports non-destructive editing, different views, opinions, and even allows different parts of the pipeline (modeling, lighting, animation) to be worked on independently.

But USDZ isn’t really compatible with USD, it just uses a subset of USD features and then packs the files into a completely different file format (ZIP files with custom byte alignment, so it’s not even really compatible with normal ZIP files, either – of course).

And I primarily use Blender for 3D objects, which only supports USDA and USDC (the formats defined by Pixar). So if I want to export an object to USDZ from Blender, I am out of luck – at least, if I want to directly export the files.

Fortunately, Blender also supports exporting to glTF, which is a format designed for 3D models on the web, especially mobile devices. The goal of glTF is to be the “JPG of 3D”, designing the format to be easily consumed by browsers with minimal processing.

And Google released an unofficial utility to convert from glTF to USDZ. So I decided to build it, figuring that it couldn’t be too hard to compile a simple conversion utility. After hours of trying different compile steps, I finally got lucky and hit the magic combination — here are the steps!

Continue reading “Compiling the glTF to USDZ Converter”

Thousands of Donuts

Anyone trying to learn Blender 3D through YouTube has probably run across the donut tutorial from Andrew “Blender Guru” Price. It is a multipart introduction to Blender where you model, texture, sculpt, light, animate, and render a donut in the open-source content creation software. It is a fantastic way to learn the basics of many parts of the software, because along the way you learn about modeling, shading, texture maps, sculpting, texture painting, particle systems, modifiers, lights, simple animation steps, and probably a bunch of other concepts and tools I’m leaving out.

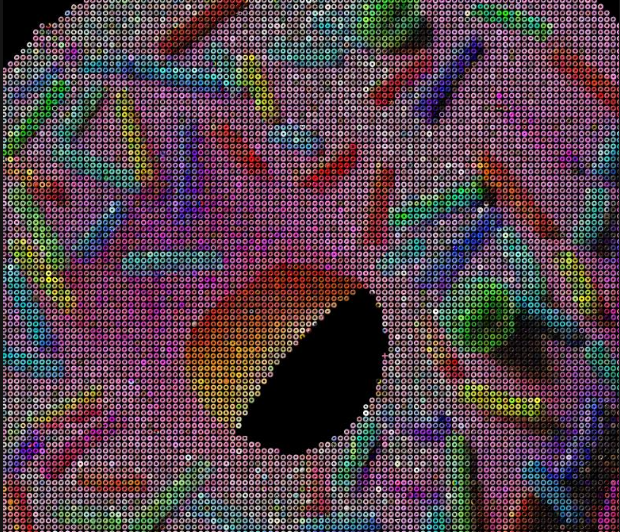
Over a year ago, Andrew Price made a request through his YouTube channel for the final blend files from anyone that has completed the donut tutorial, for a project he was putting together. Well, he finally announced the result of that project: a mosaic of a donut built from renders of all the 17,731 submitted donuts.

He released a short video explaining the process for rendering all the submissions and creating the mosaic, which uses some interesting techniques; especially the custom Python add-on for Blender to automatically render most of the submissions.

The full image is available as an interactive, zoomable mosaic on his website. Anyone that submitted a donut that ended up in the final image is also listed in the website through the searchable donut database (I’m in there!).

Also, he is going to auction off a NFT for the mosaic on April 21, and all of the money will go towards the Blender foundation to help fund continued development of the software. I’ll take credit for 1/17,731 of those funds, thank you very much!

Procedural Planets

I have been playing with Blender at least a little each night, although I haven’t dedicated as much time to it as I would like. However, I am happy that I am building a nightly habit of opening and using Blender.

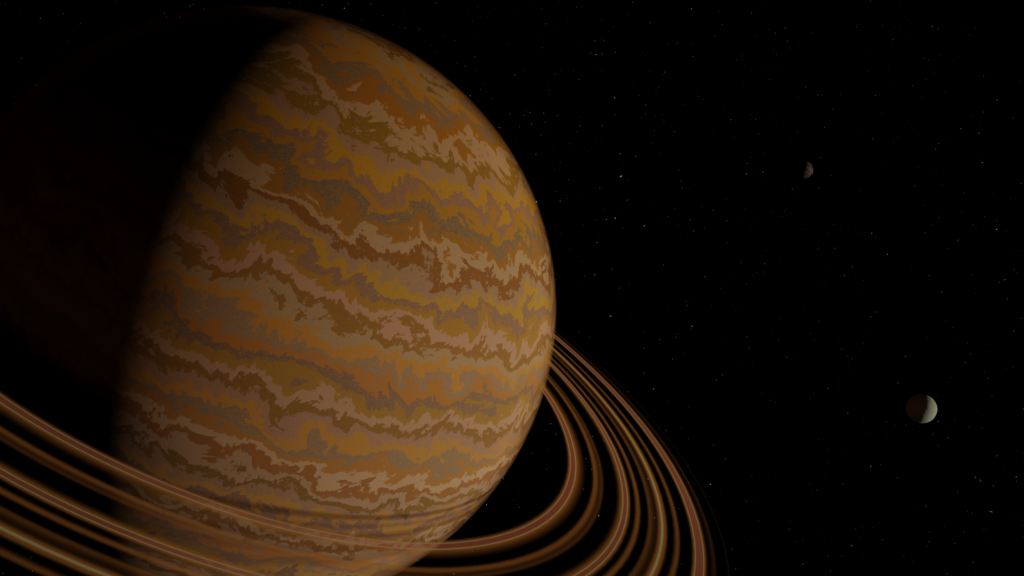
During my sessions, I created a few procedural planets/moons. Then I created a still scene using the linked objects and rendered a 4K image:

Procedural planets (click for full size 4K image)

As I mentioned, all of the planets were procedural, which means I didn’t use any external textures in the scene.

The main planet uses a combination of Gradient, Wave, and Noise textures to achieve the banding. The rings are a very simple UV map combined with a Noise and Color Ramp.

The other two objects are also procedural. The closer one I modeled as a simple moon, with some Noise nodes to add variation to the surface. The further object is modeled as a habitable (aka “Class M“) planet, again using Noise textures to drive the different land/sea/cloud areas.

And finally, the background stars use a simple technique I’ve seen in multiple Blender tutorials, connecting a Noise texture to a Color Ramp in the World Shader.

Now time to decide on some new subjects to work on in Blender!

Blender Anime Shading Overview

Check out this short two-minute overview video from the Royal Skies YouTube channel, which describes his pipeline for creating dynamic anime-style shaded characters in Blender.

His end goal is video games (real-time rendering), which means that the models need to work from nearly any angle with simple lighting requirements. In theory, the same pipeline could be used to simplify low-budget animations.

His channel also has dedicated videos for all of the steps listed in this video, if you want more details about any part of the process. Most of his videos are only a few minutes long, but he packs a ton of useful information into that short time!

Geometry Nodes in Blender

When version 2.92 of Blender was released, it included a new feature: Geometry Nodes. It is the first feature of the “everything nodes” initiative for the software, and it allows manipulation and creation of geometry through a node graph attached to a mesh. Version 2.93 added more geometry nodes, and I presume that subsequent versions will continue to expand this feature.

I decided to learn the basics of Geometry Nodes by creating a simple animation. Of course, the “simple scene” became more complicated than I expected, but I am very happy with the result.

Here is the final video. Note: you can right-click on the video and select “Loop” to view it continuously.

Continue reading “Geometry Nodes in Blender”

Conveyor Belt In Blender

I have been doing some more small experiments in Blender and I thought I’d share one of them. My goal was to create a conveyor belt in Blender, where I could animate the moving belt.

The final solution is extremely easy to animate and also very easy to create on your own! Follow along below to create your very own conveyor belt.

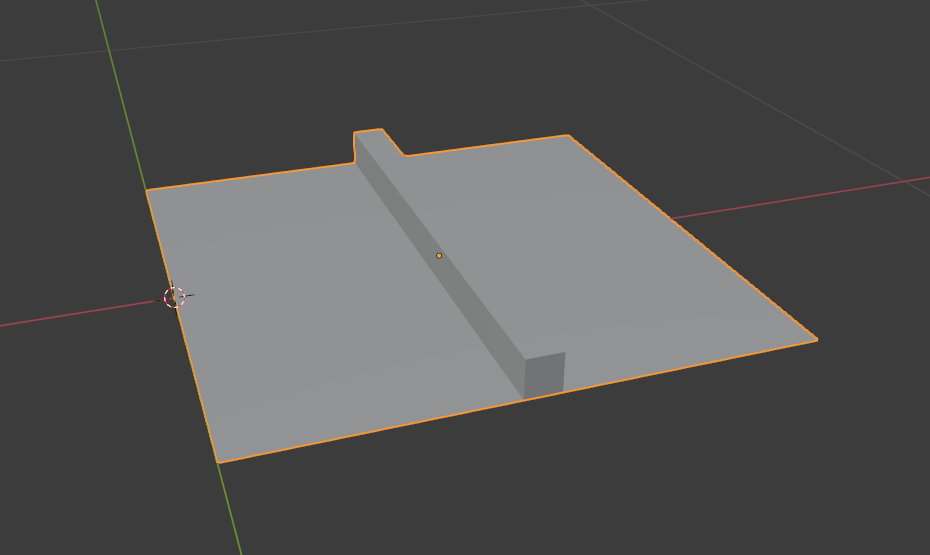
First, we create a single piece of the belt, which we will eventually repeat for the final result. Make a single plane, add two loop cuts (along the Y-axis) to split the single polygon into three, and then extruded the middle polygon upwards. Note that the single piece will be repeated along the X-axis (the red line in the screenshot).

Polygon model for conveyor belt
This doesn’t look like a conveyor belt yet….
Continue reading “Conveyor Belt In Blender”

Lights with Mesh Gobos

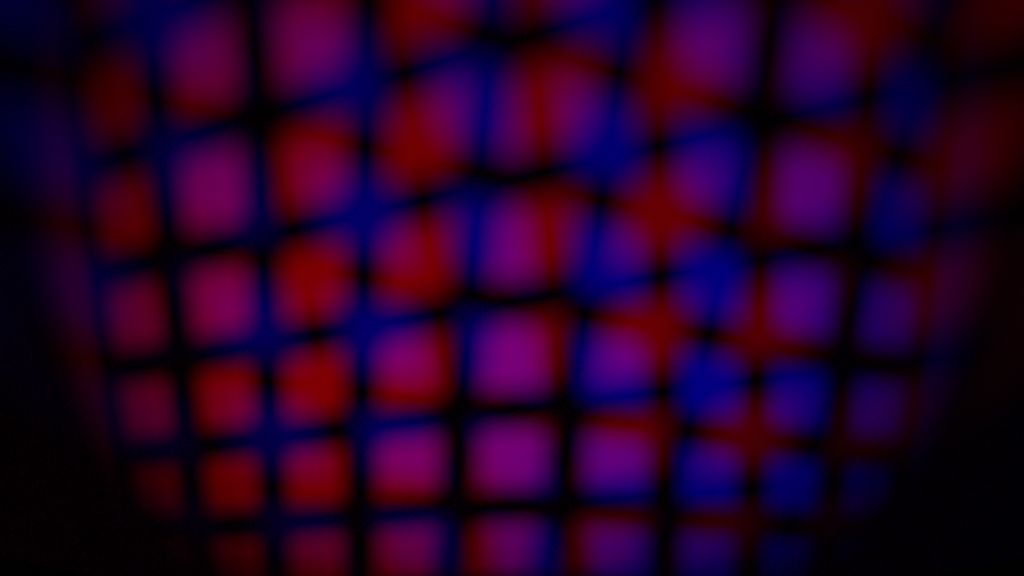
This was a quick experiment, where I played with a couple spot lights and some geometry to block the lights. Blender made this very easy using the Wireframe modifier on the mesh, to quickly generate holes in a subdivided plane to use as a gobo.

In this version, I didn’t modify the plane beyond subdividing it in edit mode. I also experimented with mixing in a displacement modifier for different irregular shadows, but ultimately I liked the geometric effect and the way the colors overlapped without any displacement.

Anvil Tutorial

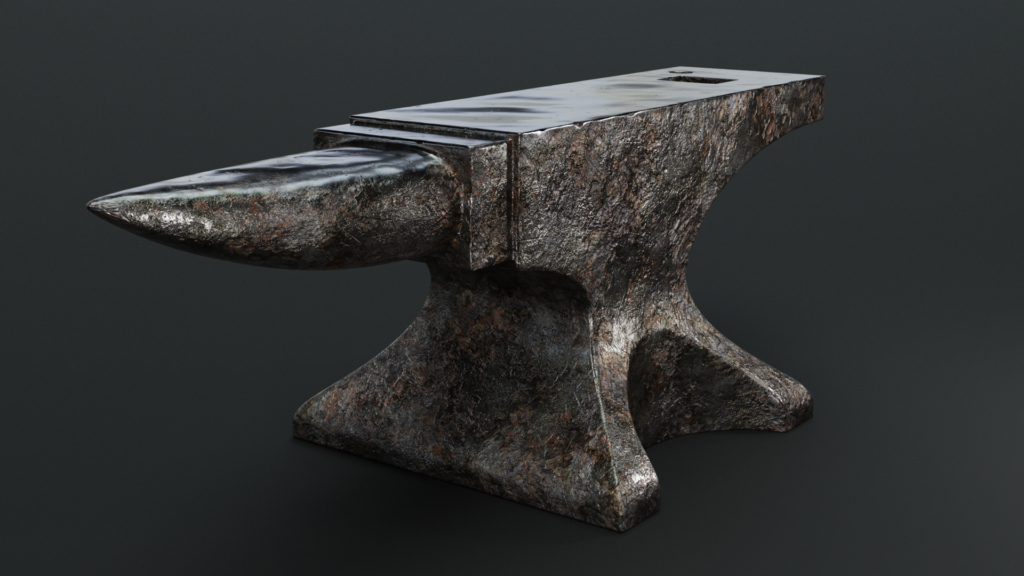
I went through Blender Guru’s anvil tutorial last week, which was a great intermediate modeling and texturing walkthrough. It covers some different modeling techniques for hard-body surfaces and introduces normal-map baking, which is something I have never really had a chance to learn.

Here is my final render of the anvil I created:

Final render from Blender of the anvil from Blender Guru's turorial

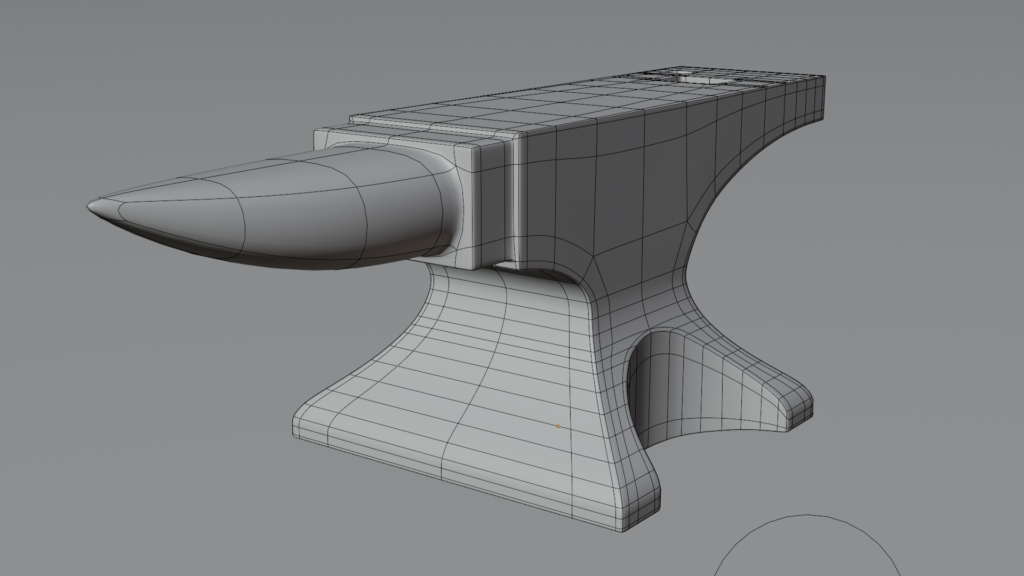
Although the final render shows various nicks and cuts, the actual mesh does not have any of those features. By creating those details in a higher-resolution mesh and then baking them to a normal map, it gives the illusion of all that extra detail.

Here is the same shot as a wireframe (with subdivisions turned on):

Wireframe render of the anvil

If you are already familiar with Blender but want to go beyond the basics and learn more about modeling and texturing, I highly recommend the tutorial!

Marking Time

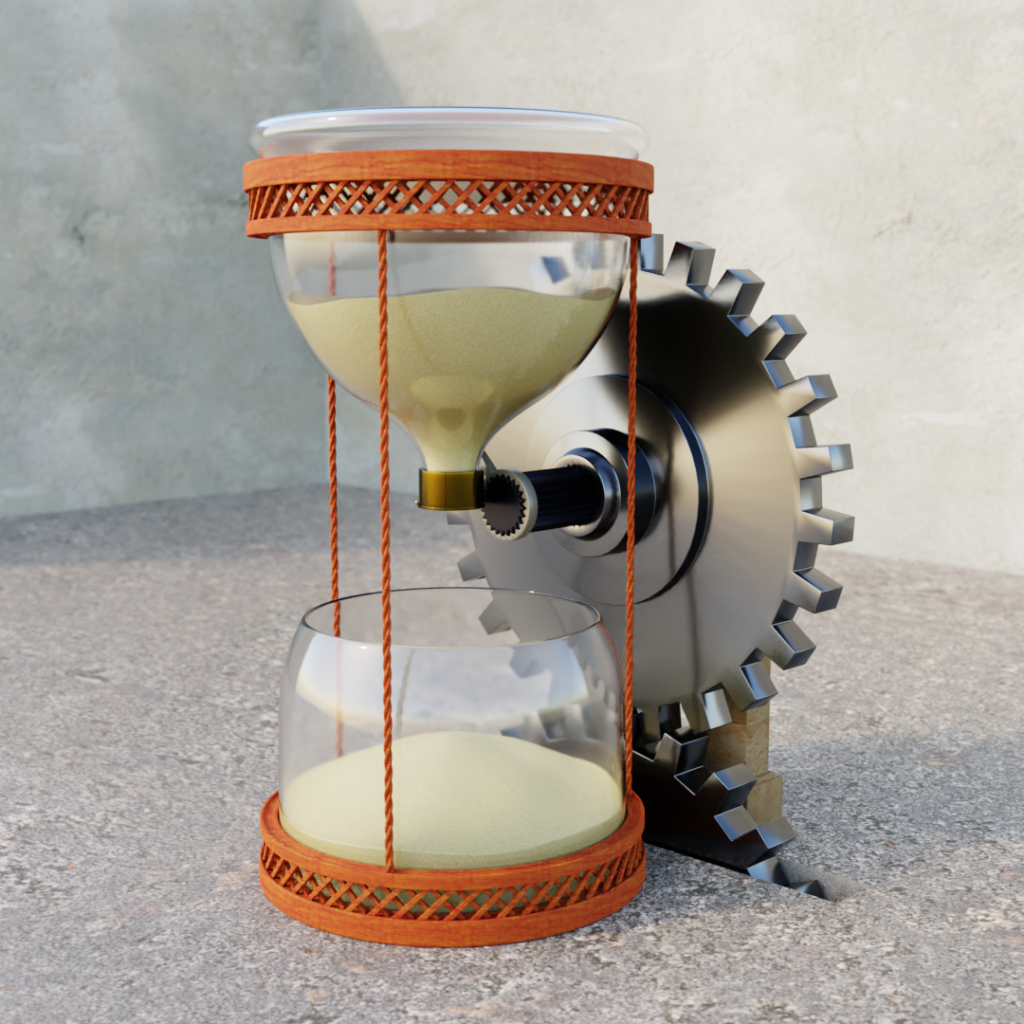
I put together another Blender image, this time just to practice modeling and surfacing. The end result is a little more abstract than usual for me, but I like how it turned out.

Click to view full-size image.

I used some textures from Texture Haven (floor, walls, wood, and stone pillar). The metal pieces are simple Principled BSDF with the Metallic setting set to 1. The hourglass is just a Glass shader. Honestly, the sand is probably the most complex shader network, because I used procedural noise nodes to give it a fine-grained look.

Platforms on Water

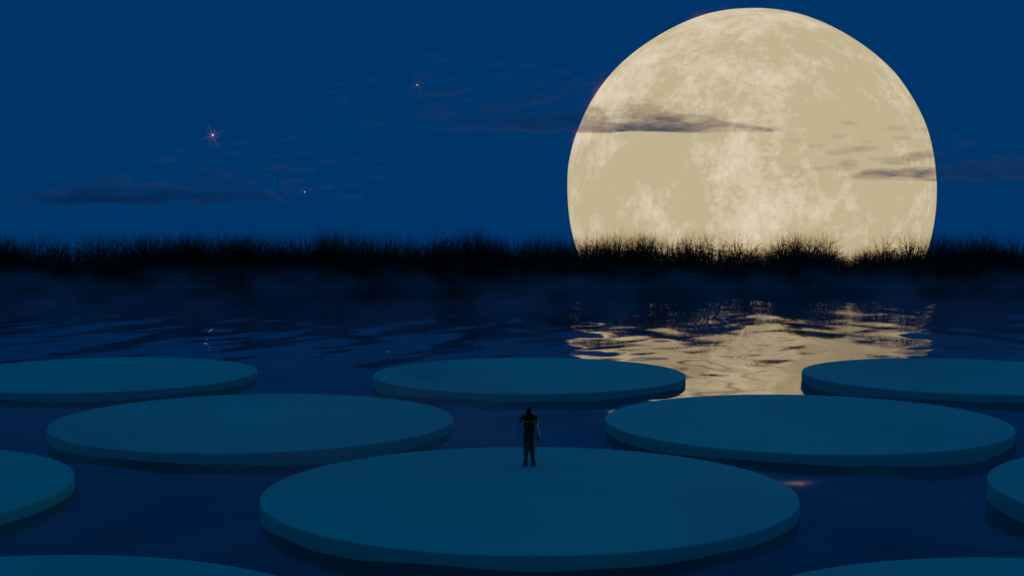
I am still slowly learning Blender and trying out different features in the software. I put some of the tools I recently learned together into a rendered image below.

Click to view full image.

The moon is a sphere with an emission shader, casting light on the scene. The texture on the moon is a simple procedural noise node.

I generated the background trees using the “Sapling Tree Gen” add-on that comes bundled with Blender. After creating one tree, I used the particle system on a subdivided plane to create a forest.

The water is just an Ocean modifier on a single plane, with a simple-yet-convincing shader node network. The fog and clouds are different volumetric shaders. Each cloud (there are three of them) is a different cube, although they use the same shader network.

Finally, I downloaded the character standing on one of the platforms from Mixamo, a service from Adobe that offers free rigged characters and a large library of animations for those characters.