I have been doing some more small experiments in Blender and I thought I’d share one of them. My goal was to create a conveyor belt in Blender, where I could animate the moving belt.
The final solution is extremely easy to animate and also very easy to create on your own! Follow along below to create your very own conveyor belt.
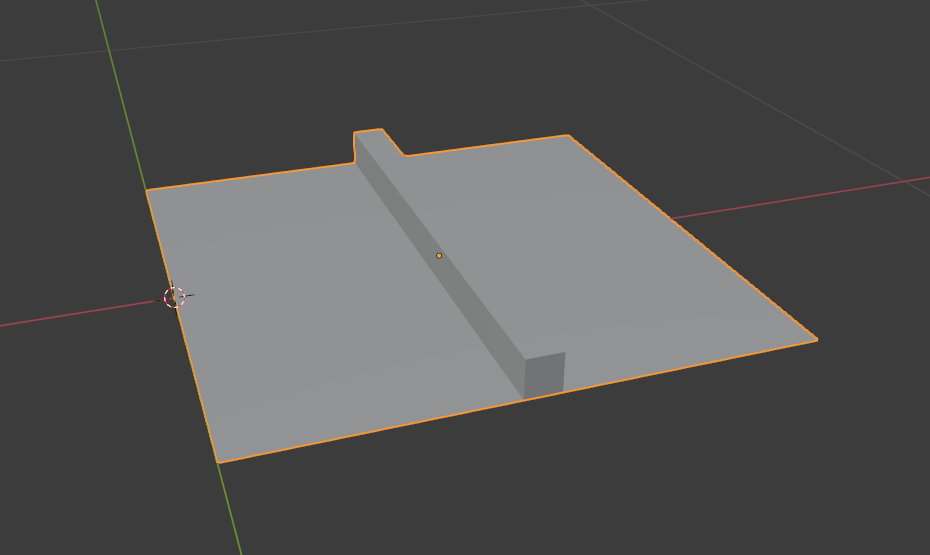
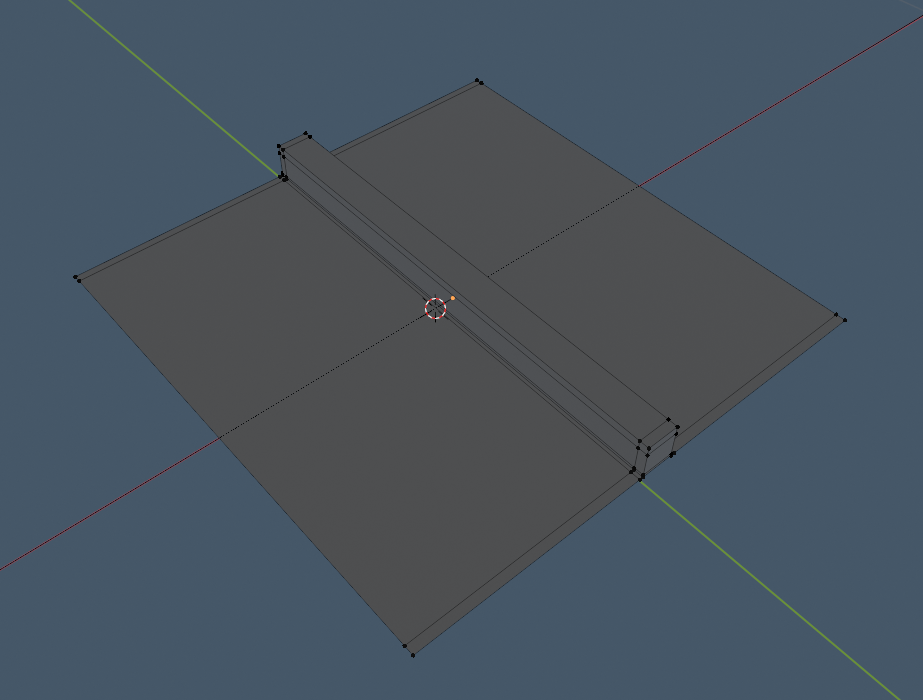
First, we create a single piece of the belt, which we will eventually repeat for the final result. Make a single plane, add two loop cuts (along the Y-axis) to split the single polygon into three, and then extruded the middle polygon upwards. Note that the single piece will be repeated along the X-axis (the red line in the screenshot).
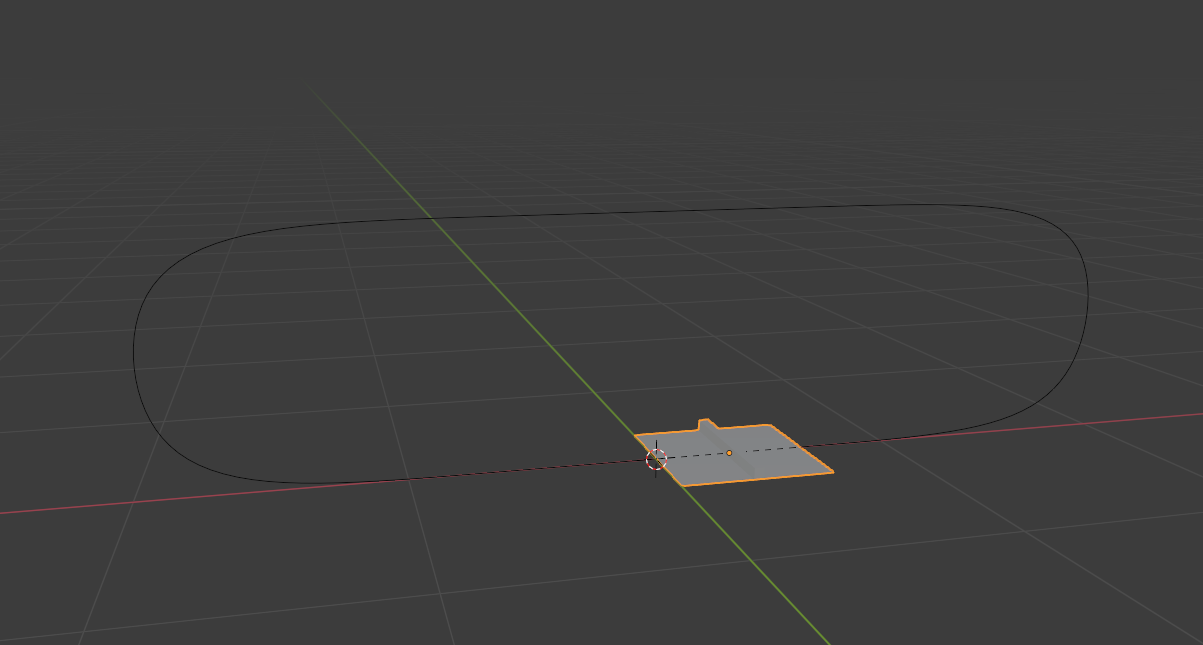
Next, create a NURBS Circle and move the points around in Edit Mode until you get the desired path your conveyor belt will follow. If you need more points, you can select two adjacent points, right-click, and choose Subdivide to add new points.
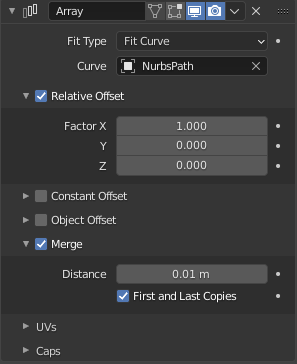
Now it’s time for some modifiers! Add an Array modifier to the single piece you created earlier. If you set the “Fit Type” to “Fit Curve” and choose the NURBS Circle you created, the piece will repeat enough times to match the length of that curve. You should also check the “Merge” option, so it will appear to be one continuous belt. Don’t worry that it looks more like a board than a belt – we’ll fix that very soon.
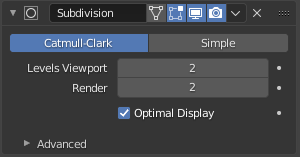
Before we try to bend these polygons, we need to subdivide them so there are points to bend! Press control-2 (or do it the long way and use the the modifier pane to add a Subdivision Surface modifier).
You also might want to throw some additional loop cuts into the mesh to sharpen up some of the edges that were smoothed out by the SubSurf modifier.
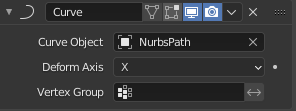
Now we can fit the conveyor belt to the NURBS Circle using a Curve modifier. Remember how the single piece was aligned along the X-axis for repeating? Make sure the “Deform Axis” is set to X!
For the final detail, add a Solidify modifier so your conveyor belt doesn’t look paper thin. I set mine to 0.03m.
Animating the belt is super easy. Just translate the first piece you created along the X-axis and you’ll see the belt rotate around the track!

If you want to get rid of that gap below the higher points of the belt, model the thickness of your belt into the single piece from the first step and remove the Solidify modifier.
I hope you found this interesting! Leave a comment if you have any questions or feedback!