I have been focusing on improving my drawing skills recently, using a two-in-one laptop as a drawing tablet. I enjoy the digital experience for drawing and painting, but working on a laptop is not ideal for learning.
With the laptop, I still need a separate keyboard for shortcut keys in Clip Studio Paint. So either I need a space next to me wherever I am sitting (if the laptop is in my lap while drawing) or enough space on my desk for another keyboard (if drawing on a desk). Since the latter requires me to clear space on my desk (which I use every day for work and has a wired keyboard and mouse taking up space), this adds a significant obstacle to using my desk each night. Therefore, I typically fall back to drawing on the couch with the tablet in my lap.
In either case, I still only have one 16-inch screen for Clip Studio Paint, reference images, and tutorials, which is very limiting. I have a good layout for having reference on the side of my screen and CSP taking up two-thirds of the rest, but I do not have a good way of following along with tutorials on the same screen of my laptop.
Finally, since I am drawing on my couch, I also usually have the television on while drawing. This is great for making it easy to find motivation to get started, but not so great for focus and actual learning.
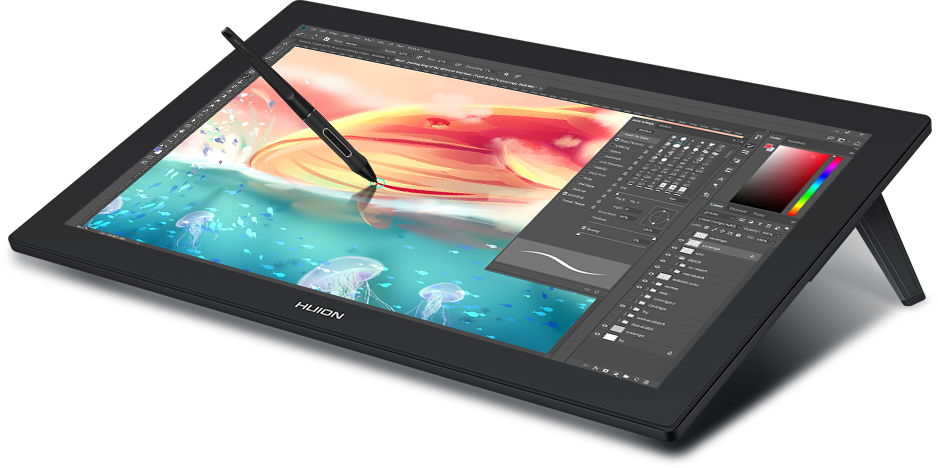
To improve this situation, to reduce daily obstacles to drawing and improve my focus, I decided to upgrade my home desk setup to include a pen display. I decided to get the Huion Kamvas Pro 24 4k:
I replaced my existing 1080p monitor with the new pen display, and kept my existing 4K monitor as my primary display. I also added a nice monitor arm, so I can easily use the pen display as either a normal monitor or pull it down for drawing.
I can use my other monitor for reference and tutorials. And my desk is in a separate room from our televisions, so I can better focus on learning.
My laptop is still a great portable alternative for traveling. But I am excited to see how my new home setup will help with improving my drawing skills.
