I’ve been working on additional models for my FLCL background recreation, so instead of showing updates to that scene I will show you the basics of my technique for creating watercolor-like textures.
Watercolors mix together in interesting ways, especially when layered. As this example image shows, the layered colors don’t just mix to form a uniform color; you can see bits of the color from underneath peaking out where the top color didn’t saturate the paper. My goal with my surface was to recreate that type of watercolor technique.
Step 1 – Create a Paper Texture Image

- In Photoshop, create a new image (I used 1500 x 1500) with a white background.
- Go to “Filter->Sketch->Note Paper”.
- Set the “Image Balance” to 25, “Graininess” to 7, and “Relief” to 1.
- Save the image as a PNG.
Step 2 – Create Example Geometry
For this example, I am just applying the texture to a single large polygon, to show you the effect.
In Modeler, create a new box with the following dimensions:
- Width: 2m
- Height: 0
- Depth: 2m
- Center X/Y/Z: 0
- Radius segments and Segments X/Y/Z: 1
Press ‘q’ to assign a surface to the polygon. Then save the object.
Step 3 – Set Up The Scene
Switch to Layout, so you can run test renders (FYI, I am using LightWave 9.6).
To set up our scene, add the object from Step 2. Leave it at its default location but rotate the Pitch to -90° so that it faces the camera.
My camera has the following settings:
- Position (x,y,z): -77.5c m, 0 m, -41.9 m
- Rotation (h,p,b): 0°, 0°, 0°
- Camera Type: Perspective Camera
- Resolution: HDTV (1280 x 720)
- Lens Focal Length: 35 mm
- Antialiasing: 5
Next, set up your light. To get the most out of the texture we will create, you need a light that will cast different intensities across the object. Because of this requirement, we cannot use a Distant Light. Switch the default light to an Area Light instead.
My light has these settings:
- Position (x,y,z): -5.96 m, 9.62 m, -13.78 m
- Rotation (h,p,b): 9.30°, 20°, 0°
- Ambient Intensity: 0
- Light Color (r,g,b): 255, 255, 255
- Light Intensity: 180%
Step 4 – Texture The Object
Press F5 to bring up the Surface Editor and select the object’s surface.
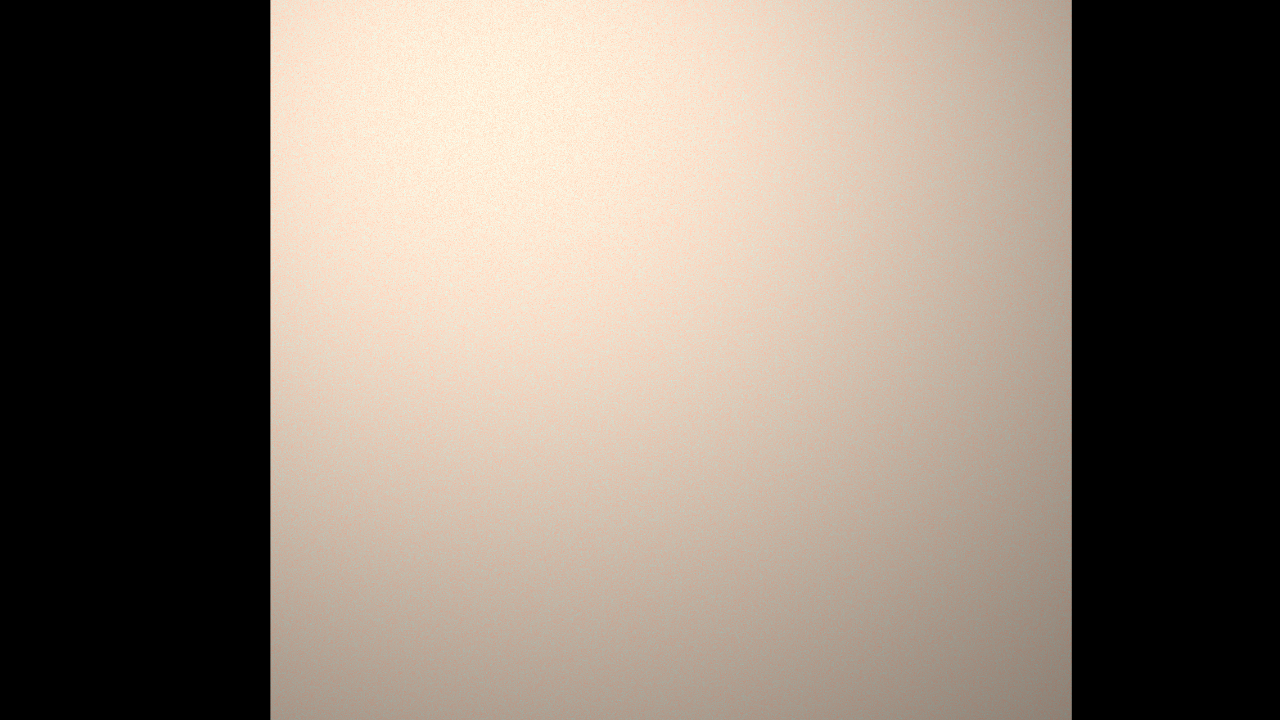
- Change the “Color” to 220, 244, 164. Run a test render to view the surface with just our initial color applied.
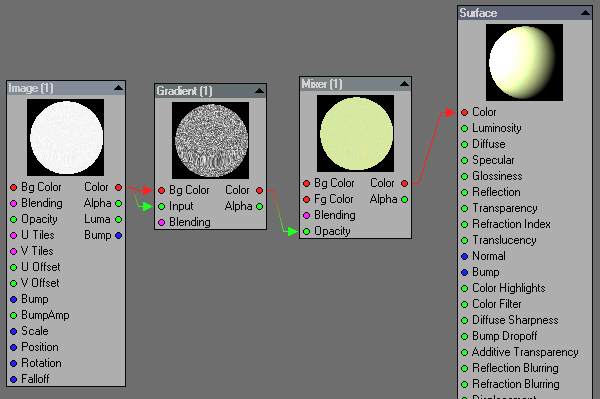
- Make sure the “Edit Nodes” checkbox is enabled. Press “Edit Nodes” button to launch the node editor.
- Create a new Image node (2D Textures->Image). Choose the image from Step 1. Set the “Axis” to “Y” and the scale to 5m, 1m, 5m.
- To increase the contrast of the texture, add a Gradient node (Gradient->Gradient). Add the following keys:
- Position: .8824, Color: 0, 0, 0
- Position: .9377, Color: 75,75,75
- Position: 1.0, Color 255,255,255
- Connect the “Color” output of the Image node to the “Bg Color” and “Input” values of the “Gradient” node.
- Create a “Mixer” node (Color Tools->Mixer). Set the “Bg Color” to 251, 229, 146. Set the “Fg Color” to 189, 235, 172. (I chose these colors by starting with the 220, 244, 164 base color as both FG and BG, then adjusting the HSV values in opposite directions. To get a more dramatic effect, you could make these colors even more contrasting.)
- Connect the “Color” output of the Gradient node to the “Opacity” input of the Mixer node.
- Finally, connect the “Color” output of the Mixer node to the “Color” input of the Surface node.
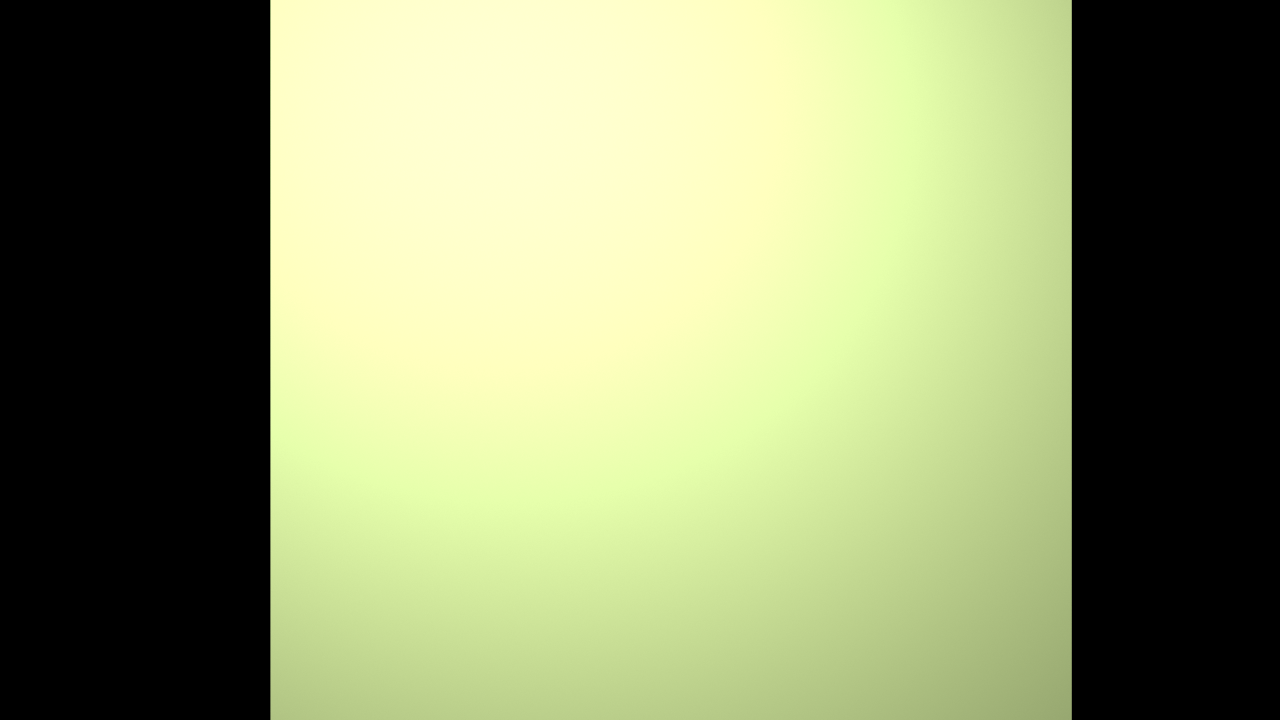
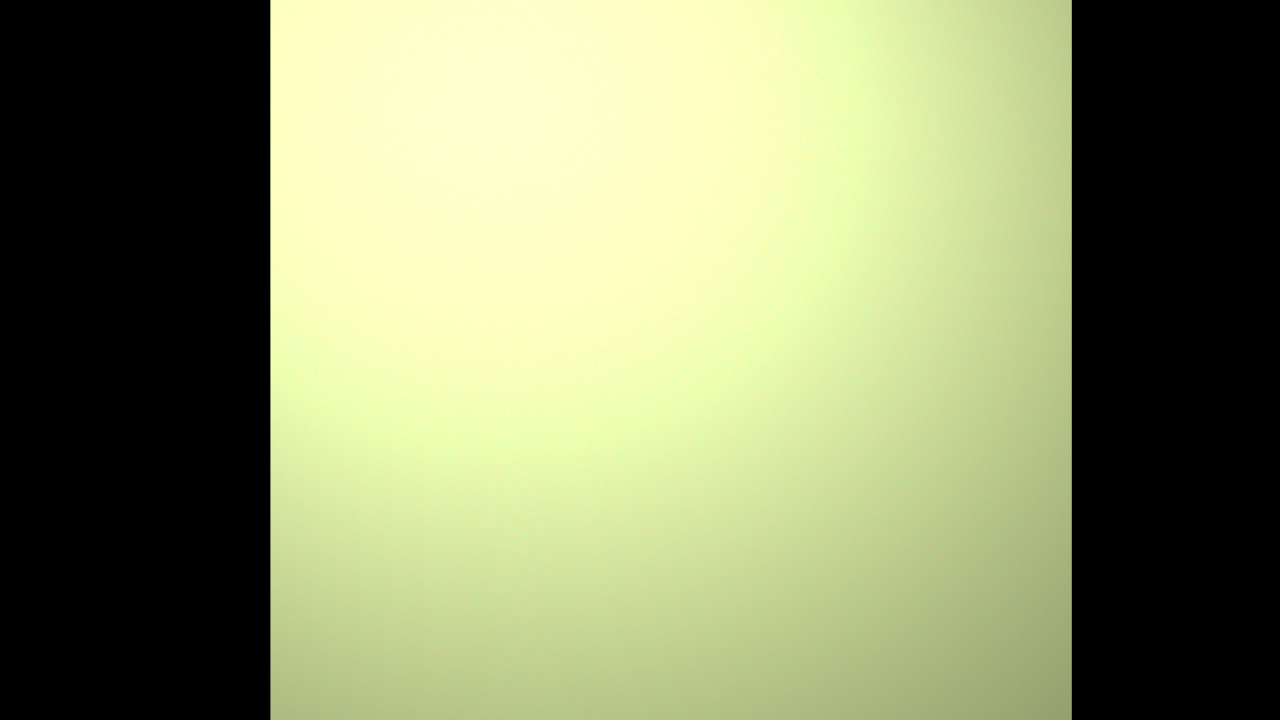
- Render the scene.
The effect is subtle, but the texture image causes the light to interact differently with the two colors in the mixer, so you get a more dramatic spread of color as the light intensity changes.
Final Thoughts
This is an extremely simple example of how to use this surface. Experiment and try other techniques, such as using a texture or weight map to transition from one color to another, or perhaps use a texture image to simulate brush strokes on the paper. Or you can try using more drastically different colors. Play around with the different nodes and see what you can come up with. Good luck!