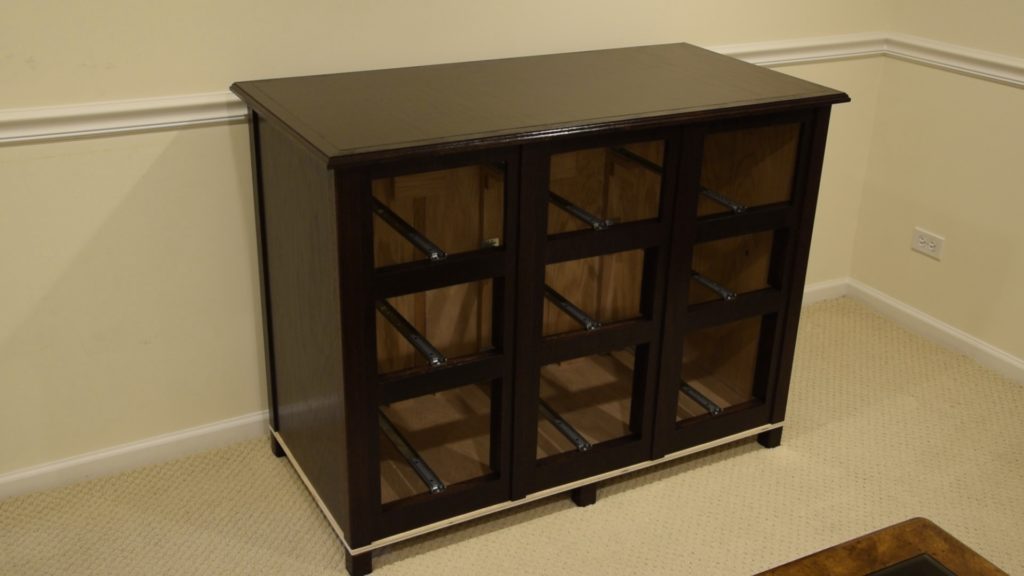
A long, long time ago, I posted that I bought some materials to build something new. Finally, after more than a year, I finished that project: a chest of drawers built from scratch!
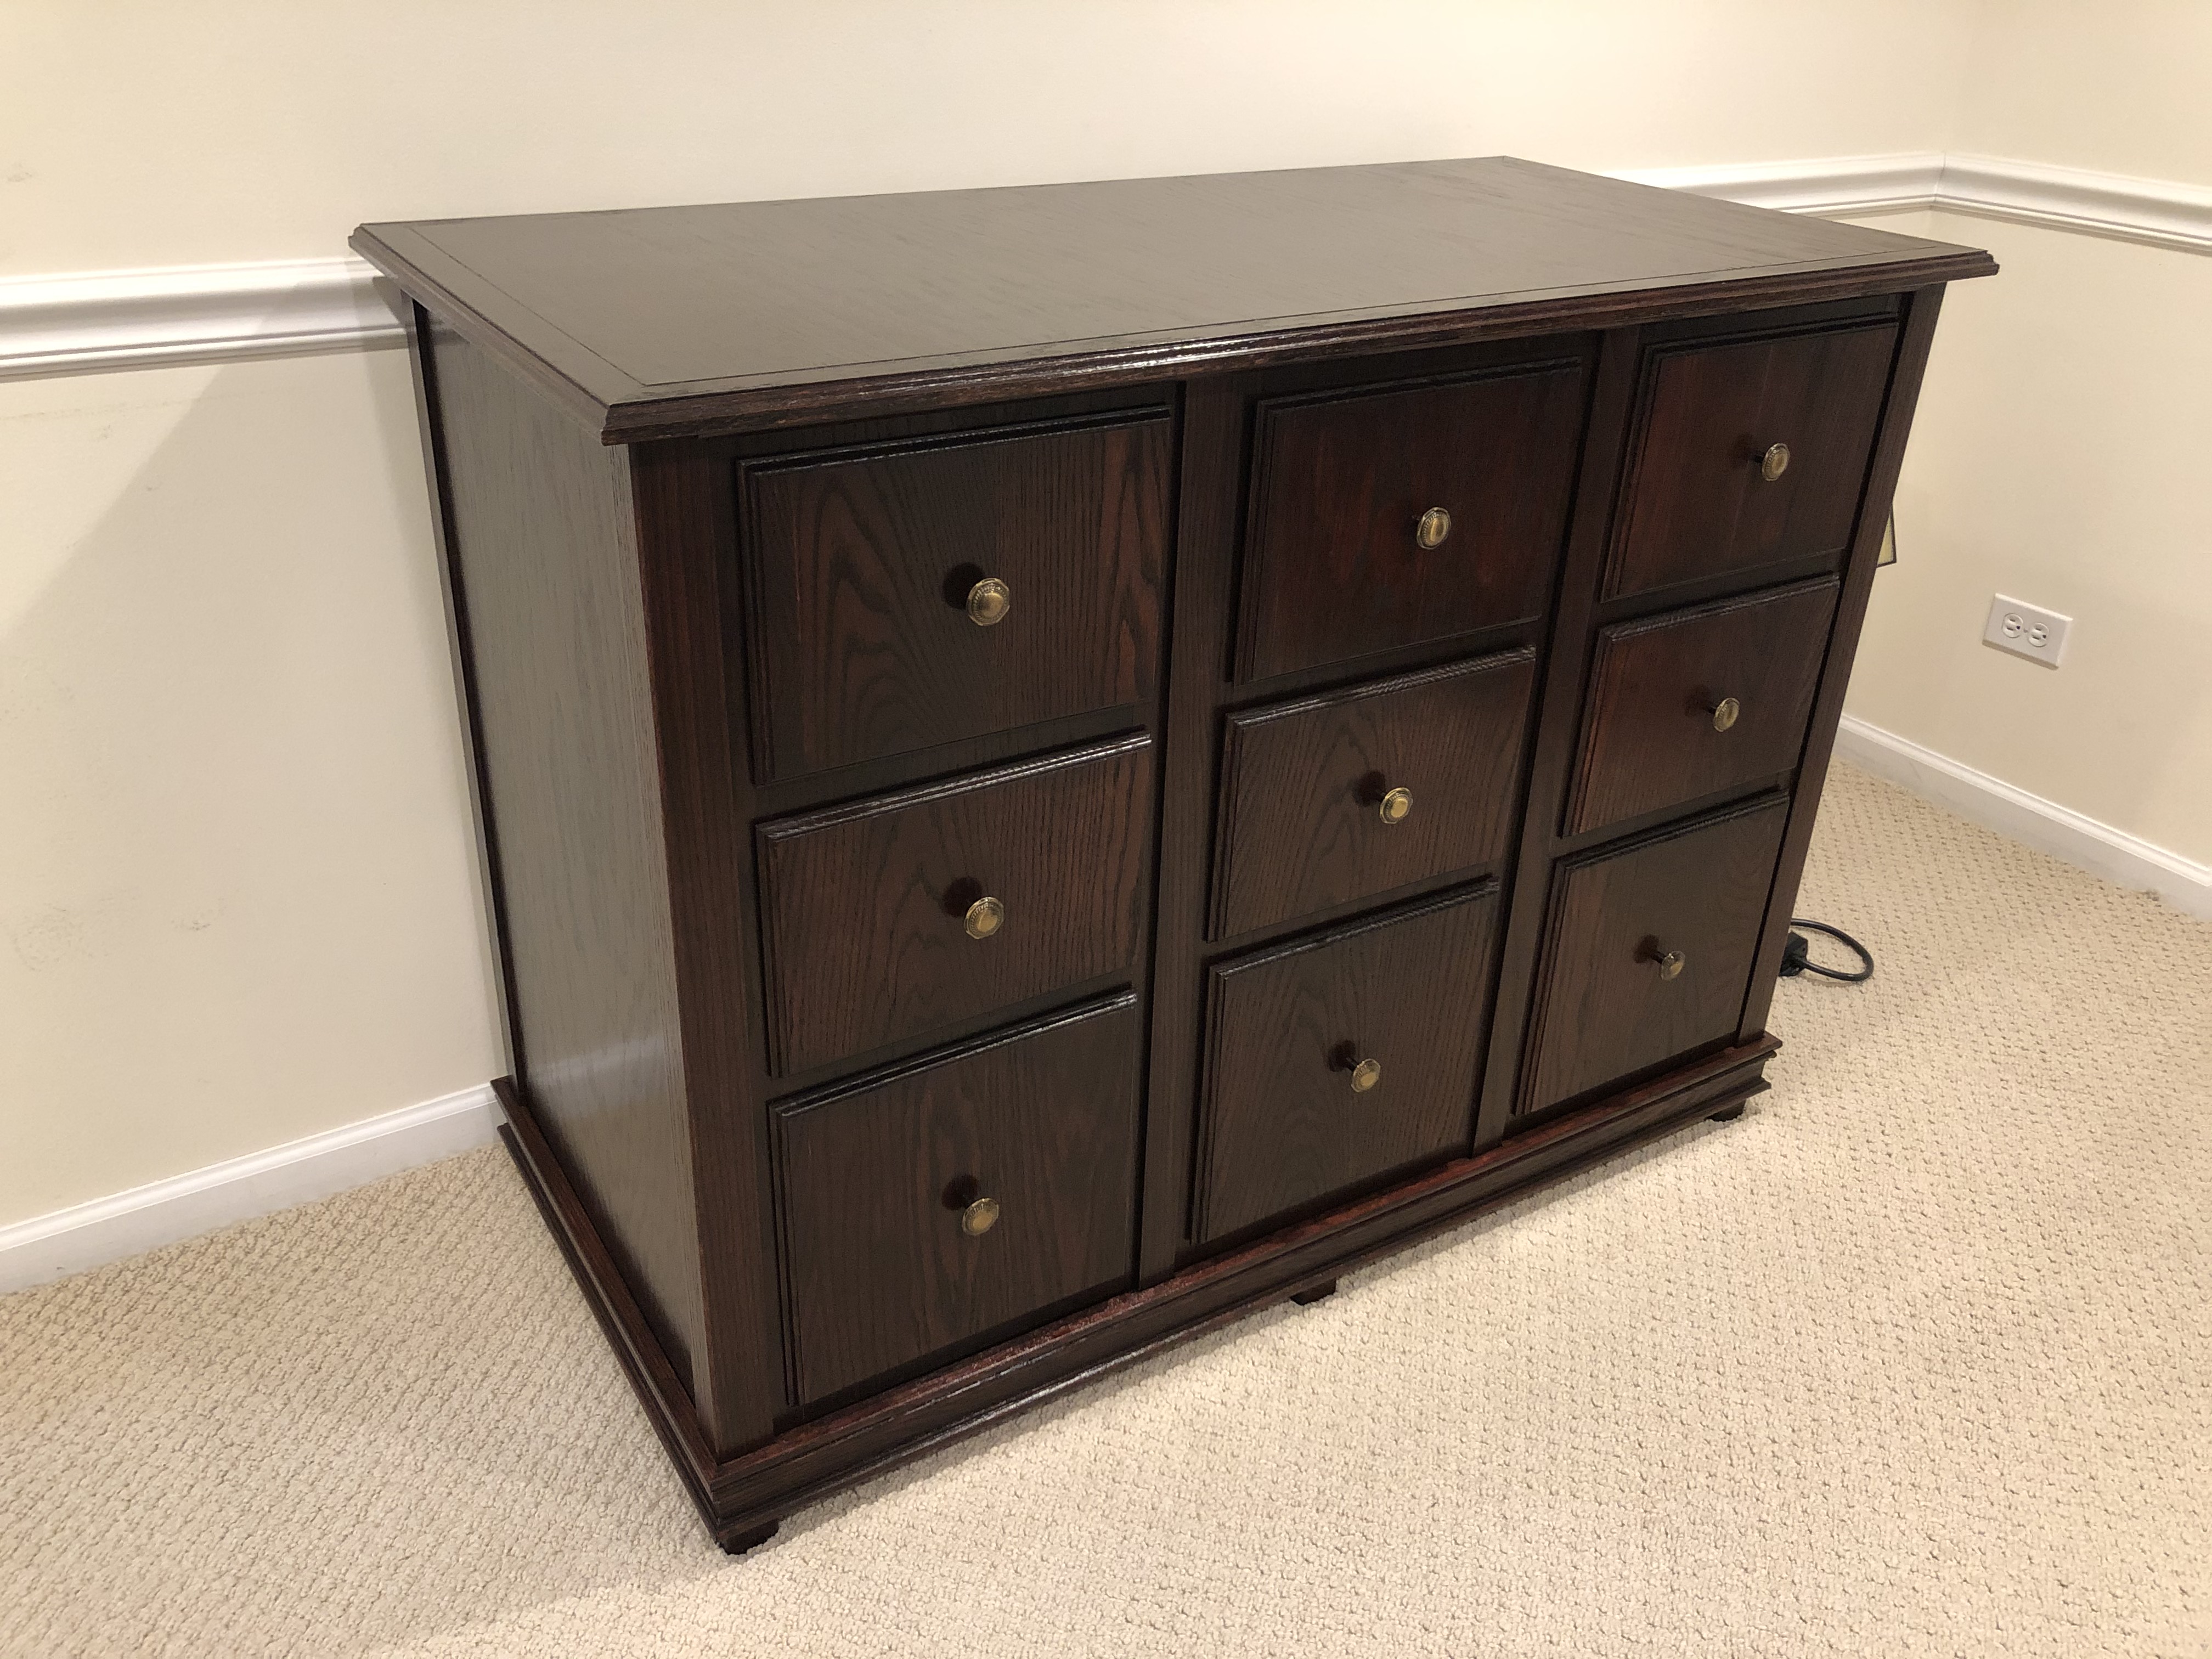
This is the first piece of fine woodworking I’ve done, and I am very proud of the finished result!
As I mentioned in the original post, I started with red oak plywood and boards. The vertical posts in the corners and between each column of drawers is solid wood; so are the drawer fronts, the trim, and the border around the top of the chest. The rest is plywood, although I tried to hide all of the edges of the plywood.
I didn’t buy any new tools for this project. I made all cuts using my circular saw or miter saw. I used my router a ton to create grooves for hiding some of the plywood edges, plus for the edges of the top and drawer fronts. And I used a combination of a palm sander and old-fashioned hand sanding to get a nice finish on the wood before finishing it.
Speaking of the finish: to match the rest of the furniture in my basement, I tried to get a finish similar to aged cherry. To accomplish that, I first used a water-based red dye. Then I used a very dark oil-based gel stain, named “Java”, on top of that. And once that dried, I sealed the wood with a water-based polyurethane.

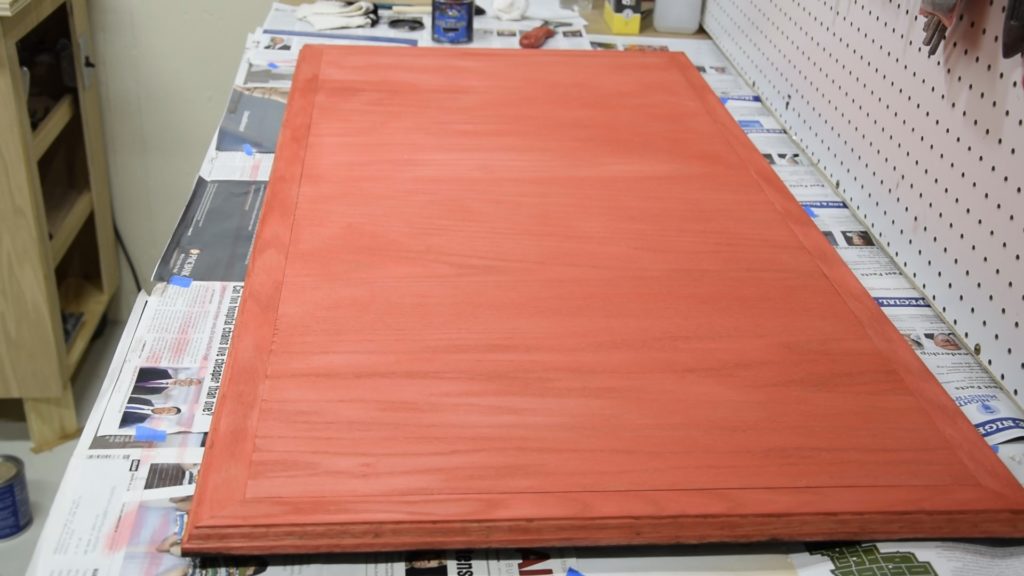
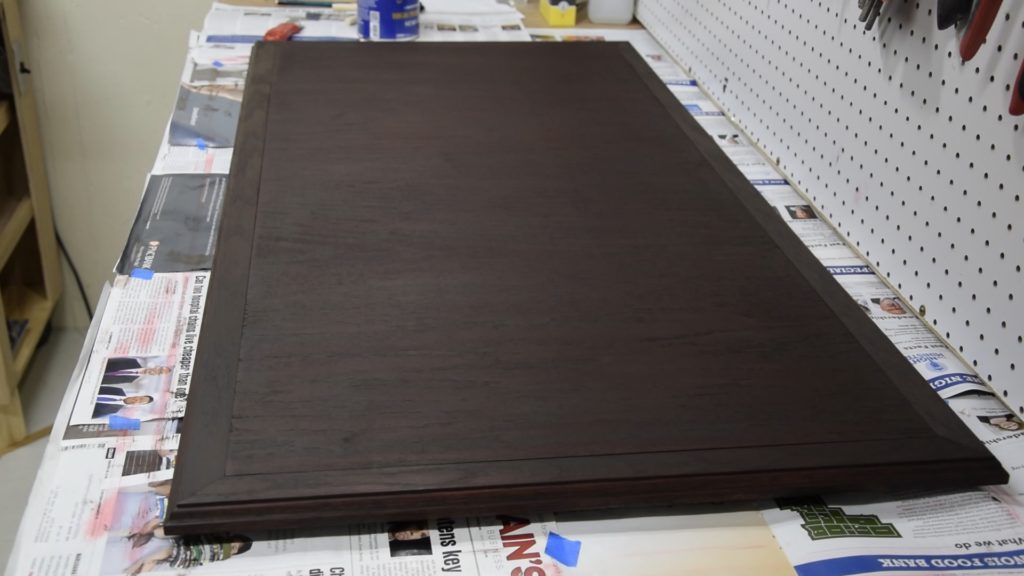
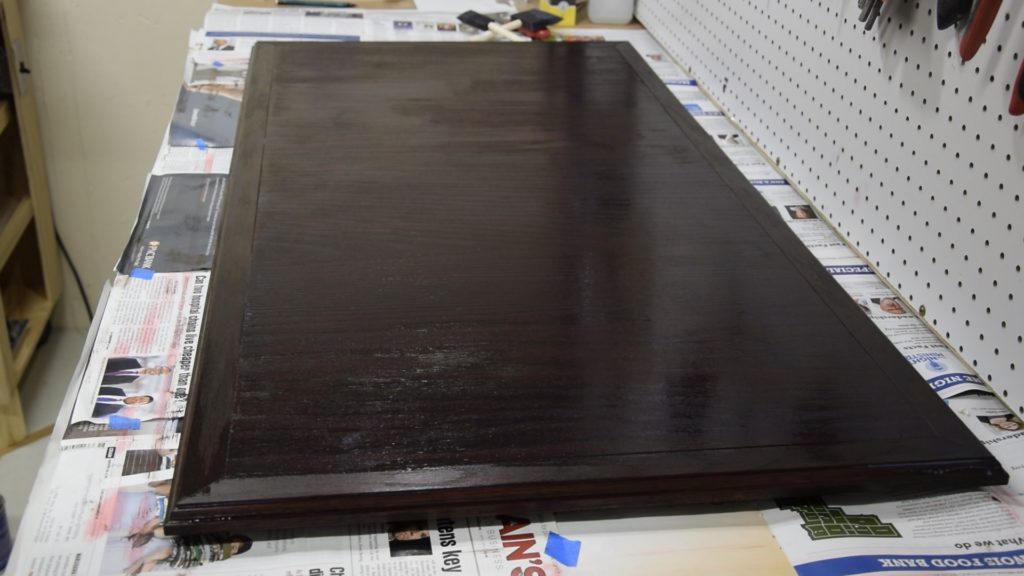
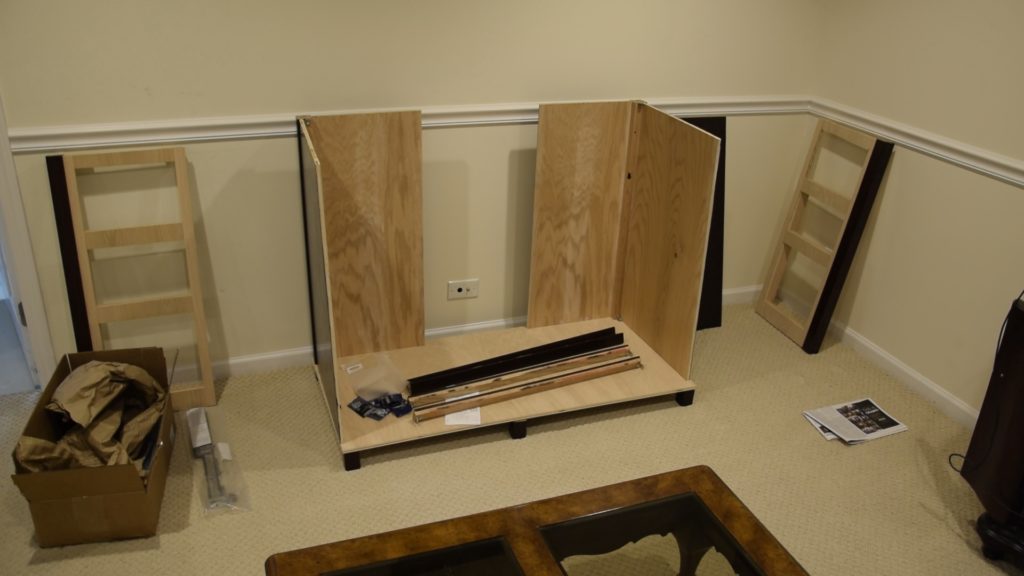
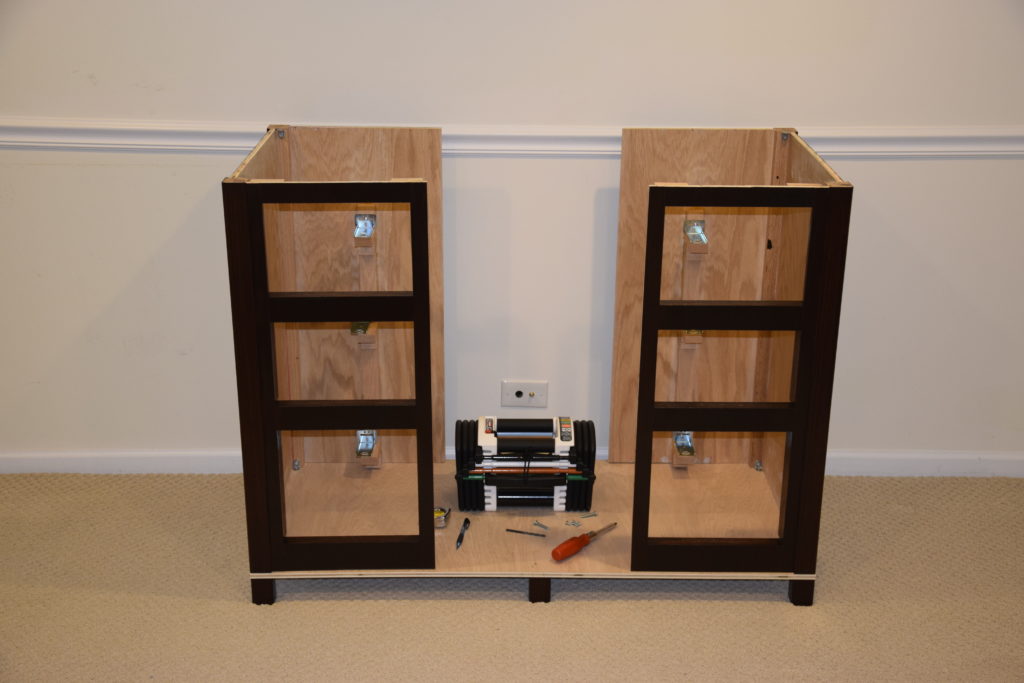
Here are some other miscellaneous assembly pictures.

Now I need to find some smaller, more manageable projects to tackle!