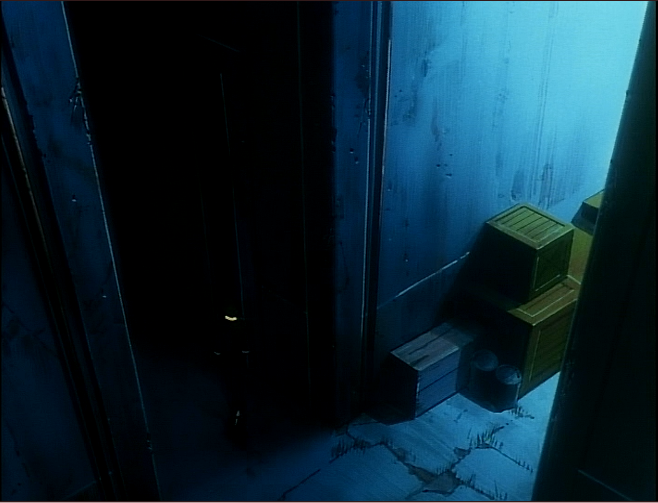
I have continued working on my 3D representation of the Cowboy Bebop background. I created a series of UV maps on the floor, walls, and some of the boxes. I then created individual bump, diffuse, and color maps to mimic some of the features in the original scene. I also tweaked the geometry since my last post, to fix some of the relative proportions of the different objects.
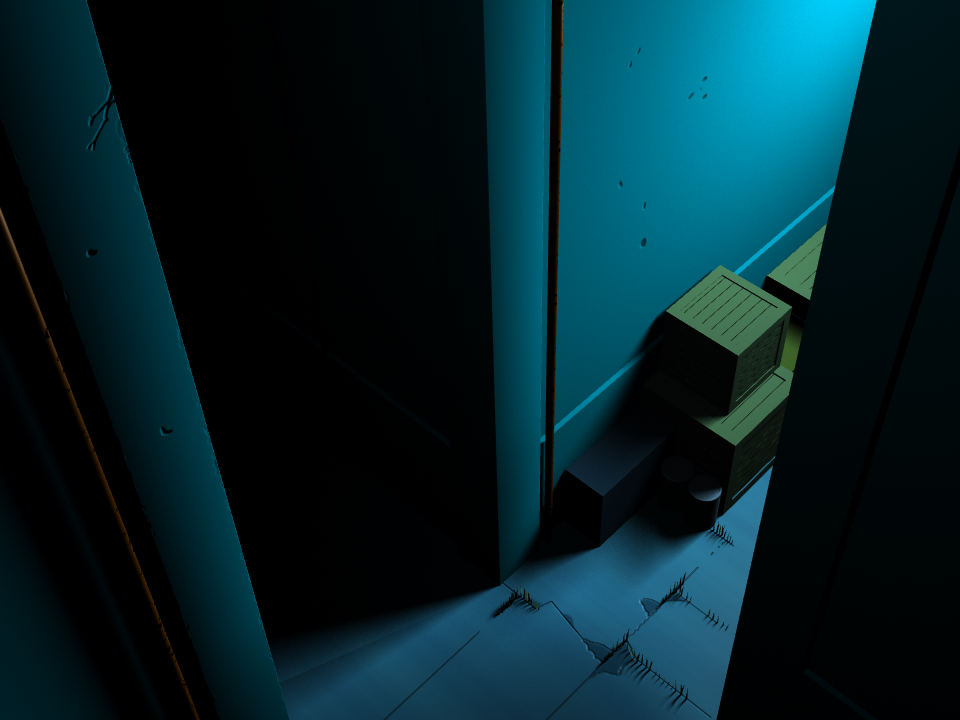
The walls have a few different UV maps, but all of the texture images are pretty simple. The main image map is a bump map with a black background and white to indicate cracks and pits in the wall. Within the node network, the bump image was also tweaked to create the diffuse channel, so that the cracks were less lit.
The floor is the most complex texture. The color, diffuse, and bump maps are all different images, plus I added some variation in the base color to try to mimic brushstrokes (I wasn’t very satisfied with that final result, but I I will have to worry about improving it another time).
Finally, the two crates have a simple UV map to add the parallel lines that define the wooden slats.
Aside from the floor, I haven’t attempted to add any brush-like textures to any surfaces, so the render still has an overly clean look. If I have time in the next week, I hope to try creating a dirtier look to the different surfaces.