I finally looked into a more advanced animation pipeline feature named “linear color workflow”. The concept is simple: you can represent an image using a very wide range of values, thus preserving a very wide range of color values and brightness levels in a single scene. And if your entire workflow uses this high dynamic range data, you can perform sophisticated effects to the final image that are not possible when you are limited to the 8-bit integer RGB values that are normally used in JPG, PNG, and similar file types.
I used this article from Except.nl as a great introduction to the topic. Using the article a guide, I rendered my own scene and tried some of the recommended tools.
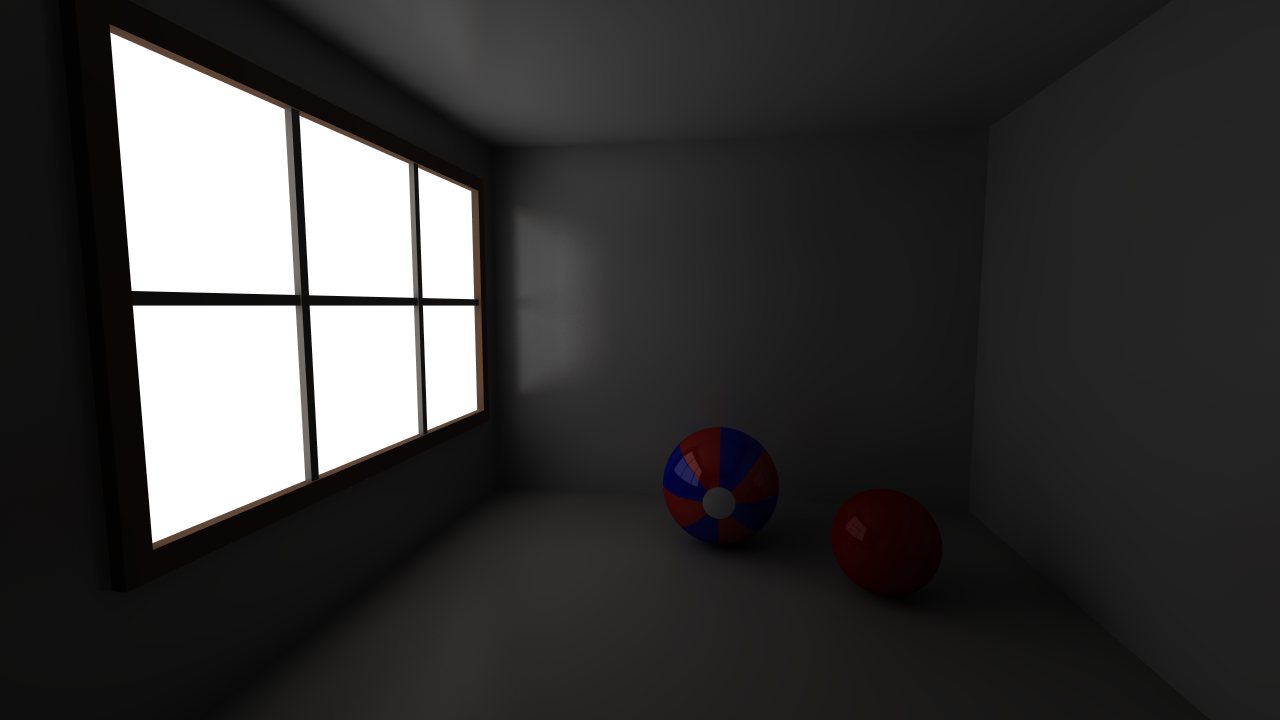
I threw together a scene using a few simple objects I already had on my hard drive and a simple room I quickly modeled just for this test. Here is the raw render, saved as a PNG with the default exposure settings from LightWave. The only light is coming from the pure-white backdrop shining through the empty window. Radiosity is enabled using Final Gather, 200% intensity, 4096 ISBG samples, 3 indirect bounces, 250 rays per evaluation, and 50 secondary bounce rays. The camera has anti-aliasing increased to 9 minimum samples, 27 maximum samples, and .005 Adaptive Sampling Threshold. Almost every surface in the scene has positive reflectivity and some level of reflection blurring. I was pleasantly surprised that despite all of these high quality settings enabled, the 720p HD resolution render only took 49 seconds on my computer!
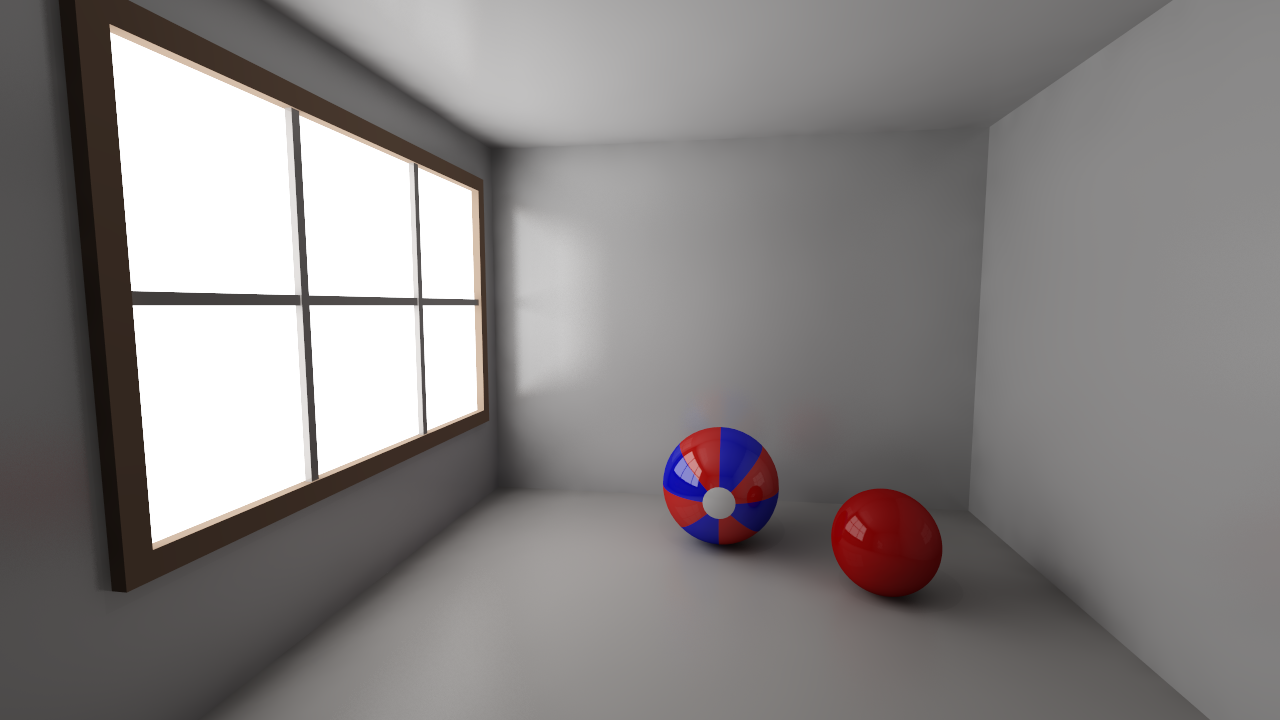
Next, I had to choose what HDR image format to use. I decided on “OpenEXR RGB FP” and saved the raw render to disk. You can take a look at the HDR render yourself (Photoshop can view OpenEXR files). Although this is great for my testing, I would be hesitant to use it in a long animation because of the file size. That single frame at 720p HD resolution was almost 9MB.
Anyway, I opened the rendered HDR file in the LightWave Image Editor and applied a “Processing” filter for “HDR Expose”. I set the White Point to .7 and the Black Point to 15%, which changed the image to look like this:
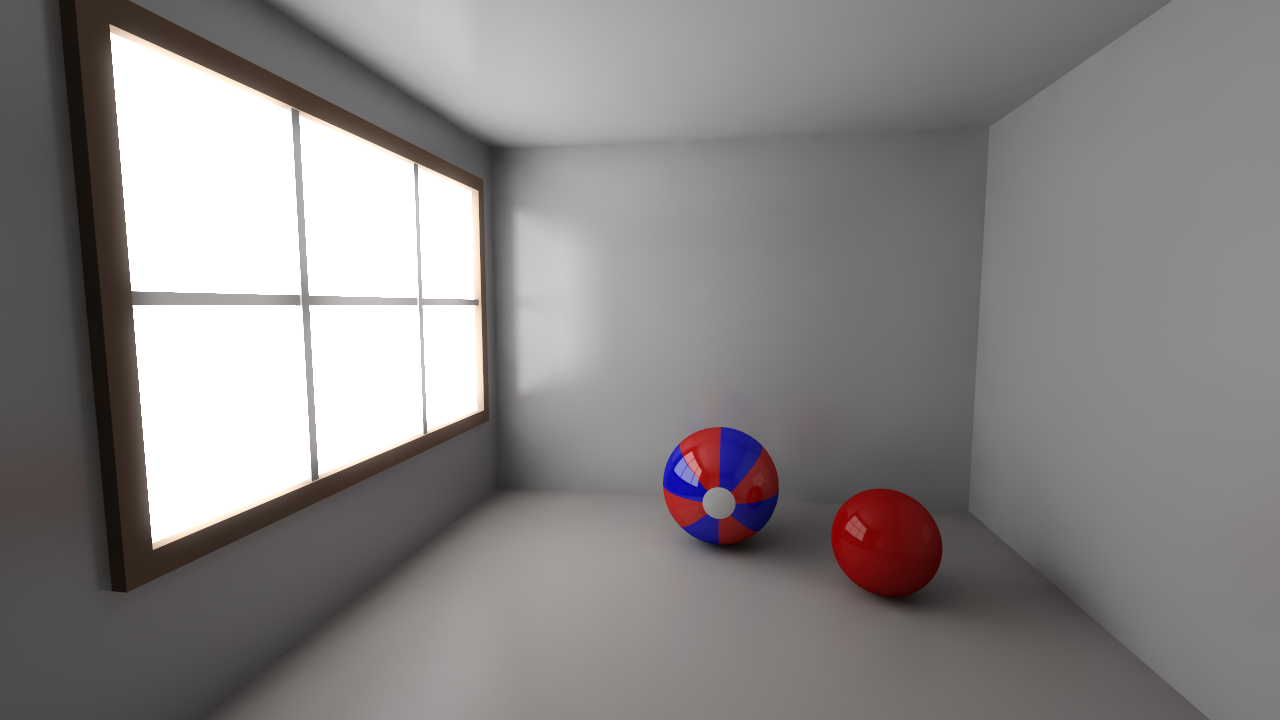
Next I added a “Corona” filter and left the default settings. This plugin added five or ten seconds to the display time for the image, but it softened up the bright light coming from the window.
Finally, I added the “Virtual Darkroom” filter. I chose the “Kodak Gold 100” preset and then played with the Positive/Negative values until I got a decent image. I ended up with a Negative LUX of 2 with an exposure time of 5.5, and a Positive LUX of 1 with a time of .55. I also turned off the Grain option.
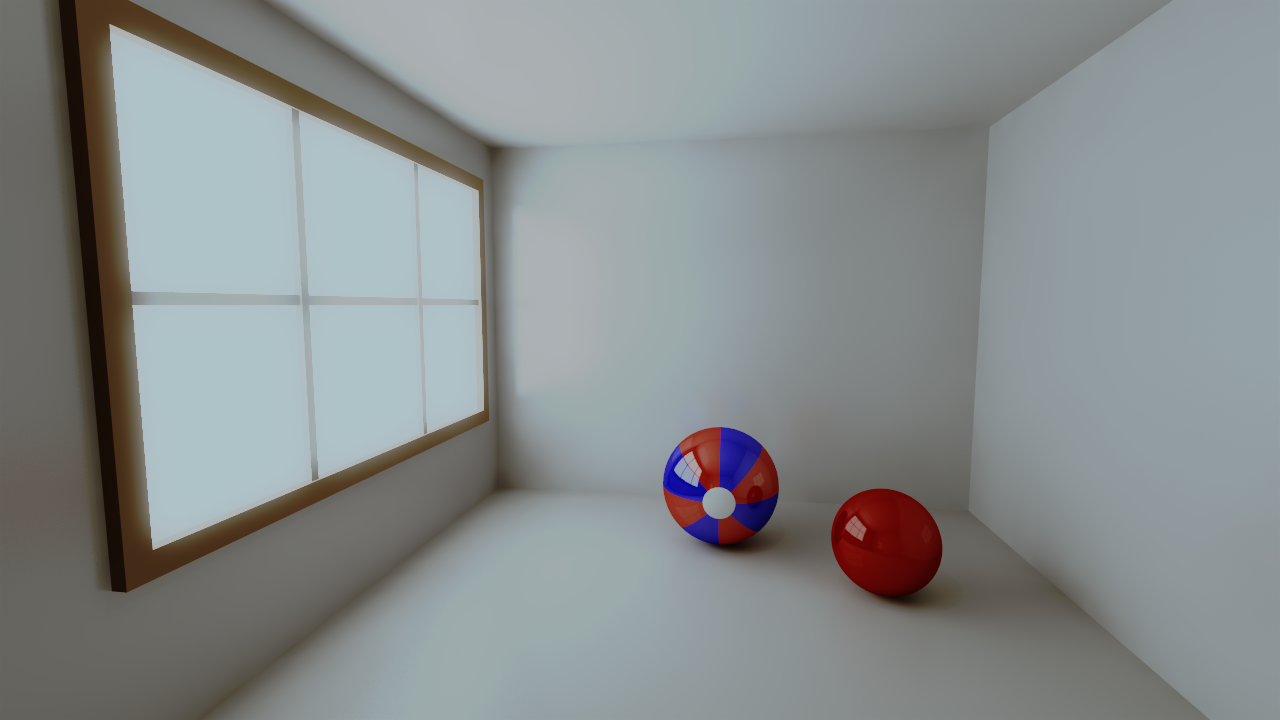
The Virtual Darkroom filter looks like it has a lot of power in the hands of someone that knows what they are doing. Unfortunately, I do not have any experience with traditional lightroom techniques, so I am not even familiar with the terms on the main page of settings, much less any of the advanced controls. That might be something worth researching in the future.